PROCEDURE
Gearmage converts emails sent to certain mailboxes into PDFs, then saves them to a chosen network share. WI will show you how to add an email address to Gearmage and test functionality.
REQUIREMENTS
- Authorization must come from Client POC.
- Password State > Domain\Service Accounts > cIT AD Account
- Screen Connect or NCentral > WP-DC02
STEPS
- Create mailbox account in Office 365 if needed [Target Email]. Email address must be a licensed mailbox as we need a password (cannot be shared mailbox or distribution list).
- IMPORTANT: Add credentials to Password State.
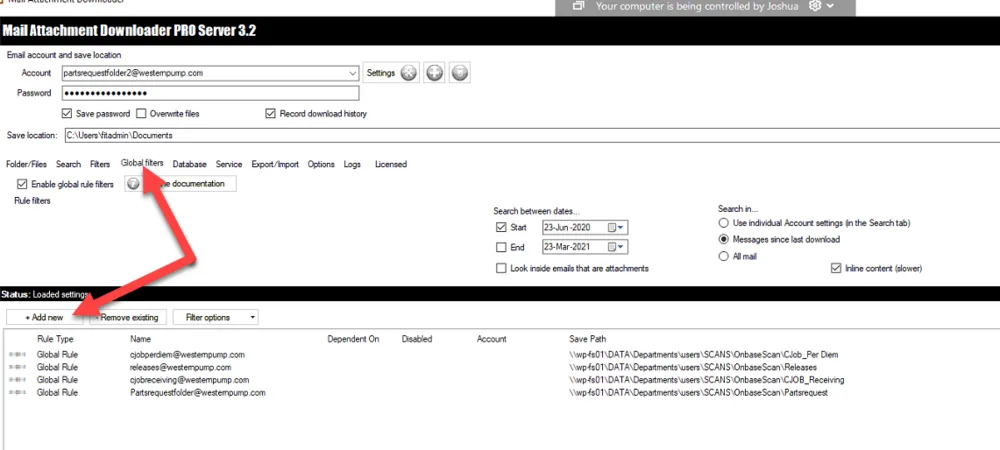
- Access WP-DC02 and open Gearmage (located on desktop, called Mail Attachment Downloader)
- Click on add a new account button
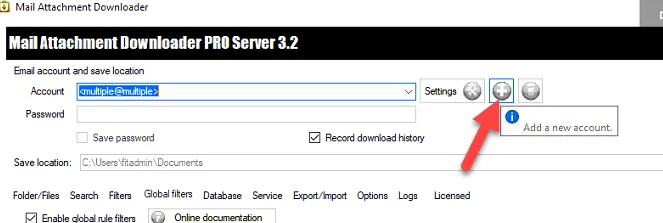
- Click Yes on the pop-up
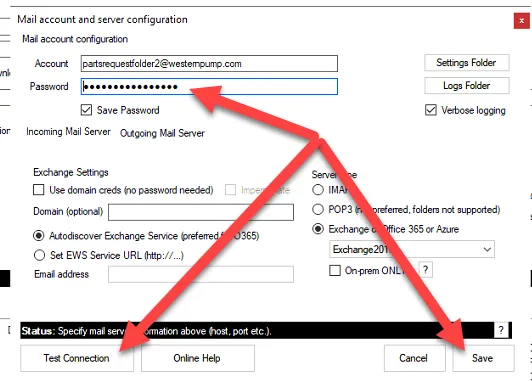
- Add email password, click Test Connection, then Save (leave everything else default)
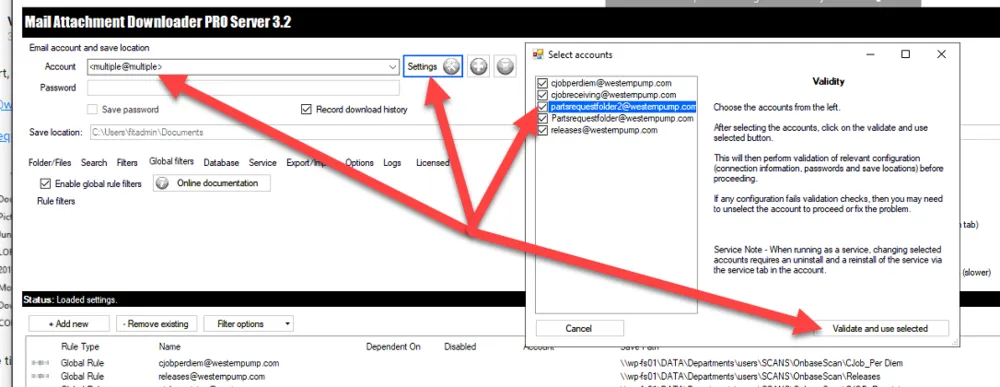
- Click on multiple@multiple then Settings
- Check the box of the newly added email address, then Validate and use selected
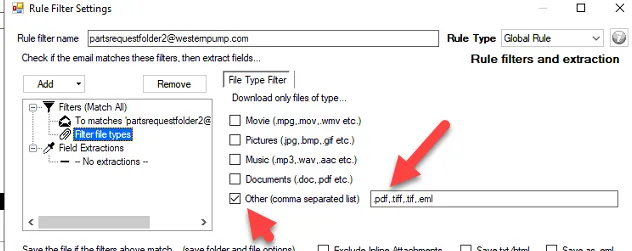
- Click the Global filters tab > Add new
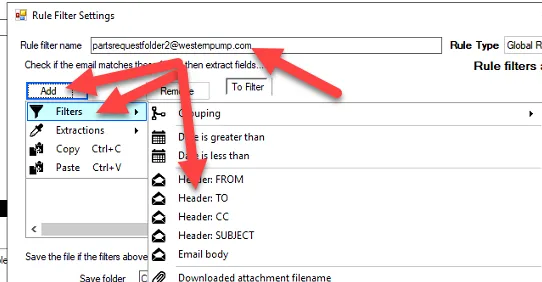
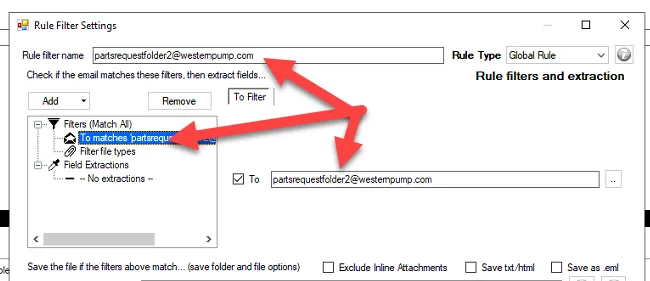
- Rule filter name > [Target Email]
- Add button > Filters > Header: TO > [Target Email]
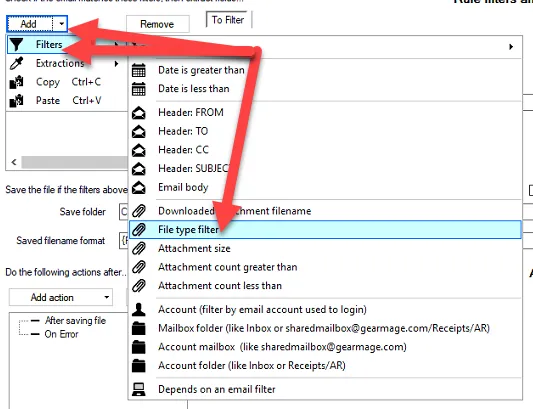
- Click Add button again > Filter > File type filter
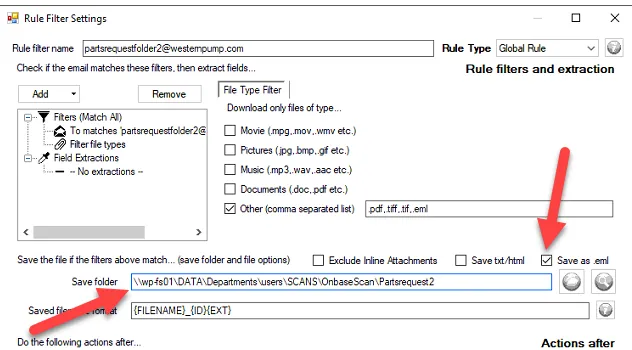
- Check the Other box > .pdf,.tiff,.tif,.eml
- Save folder path (must use UNC path):
- \\wp-fs01\DATA\Departments\users\SCANS\OnbaseScan\Partsrequest2
- Check Save as .eml
- Under Do the following actions after Section > Add action button > After saving file > Document conversion
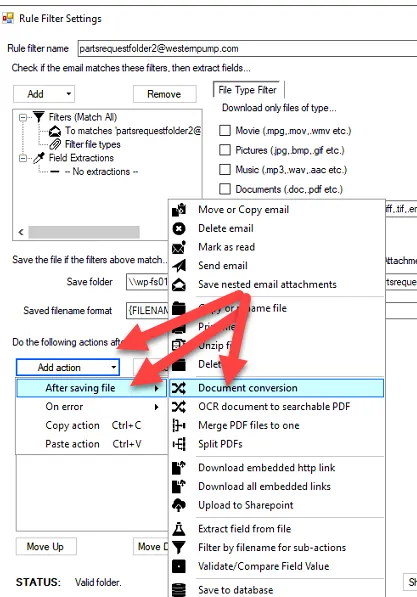
- Check Delete source file after conversion & Ignore failures…
- Click Add conversion
- Confirm Doc Conversion Details match the screenshot below (Right side)
- Then click OK
- Under Do the following actions after Section > Add action > After saving file > Merge PDF files to one
- Check box for Delete all source PDFs after conversion
- Under the Do the following actions after Section > Add action > After saving file > Mark as read
- Click Save (Note: you should now see a new global filter)
- Now you have to uninstall the service, re-install it and reboot the server
- Verifying it works:
- Send test email to the newly created mailbox
- Open Gearmage and wait for the process to run (every 5 minutes automatically, cannot force it run)
- You will see it process and then see the files in the folder
REFERENCES
None