-
Unbox the Mac and plug it in
-
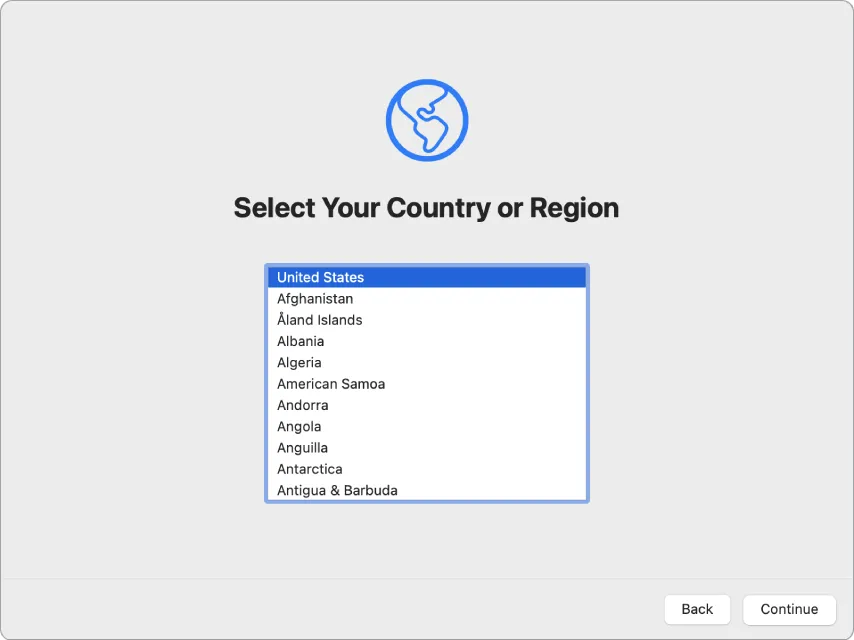
Do Not Select your language and region - We need the Mac on this page to begin the Apple Business Manager registration process
-
You will need an iPhone to manually register a Mac within Apple Business Manager
-
You will need an Admin account with the CentrexIT Apple Business Manager tenant
Per Apple:
-
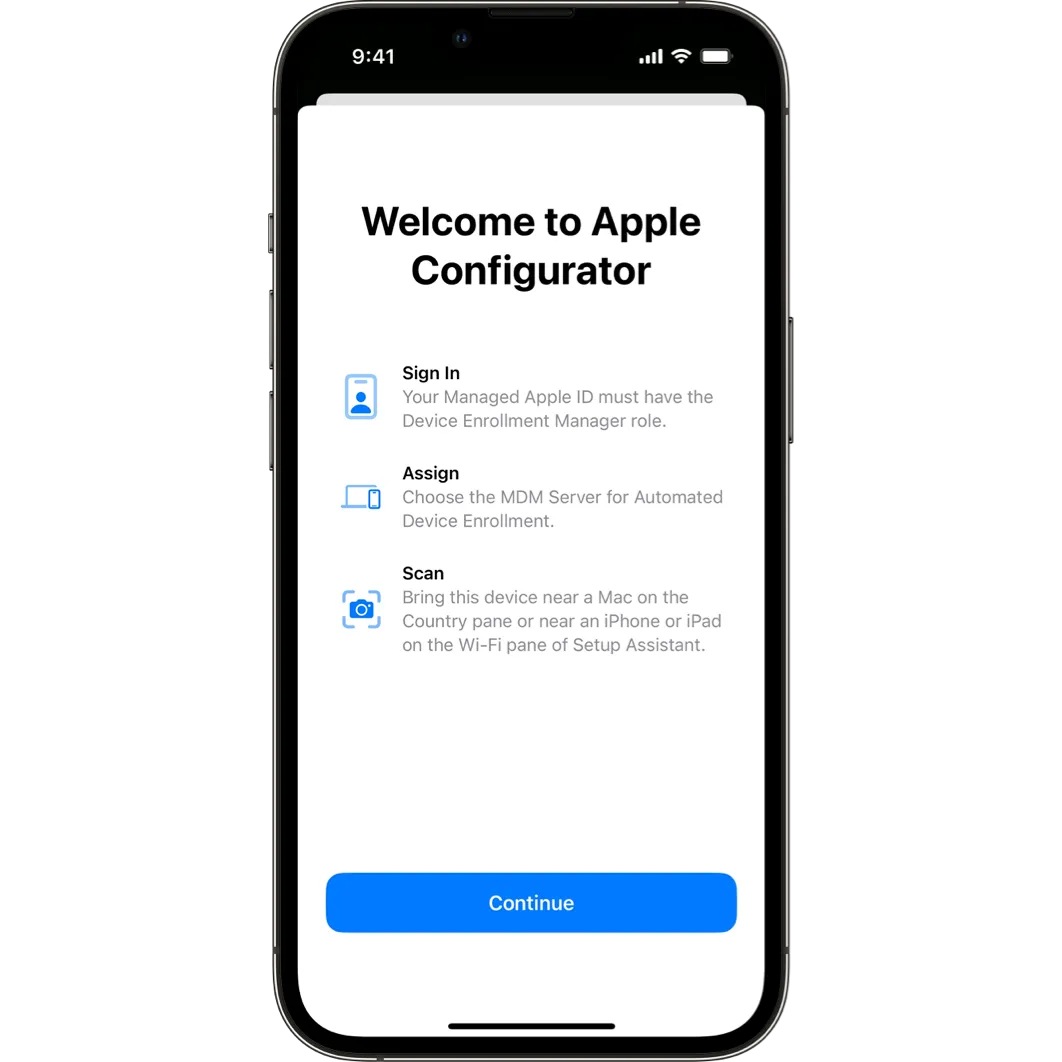
Open Apple Configurator on your iPhone, then tap Continue.
-
-
The first time you use Apple Configurator, you need to allow Apple Configurator to use Bluetooth.
-
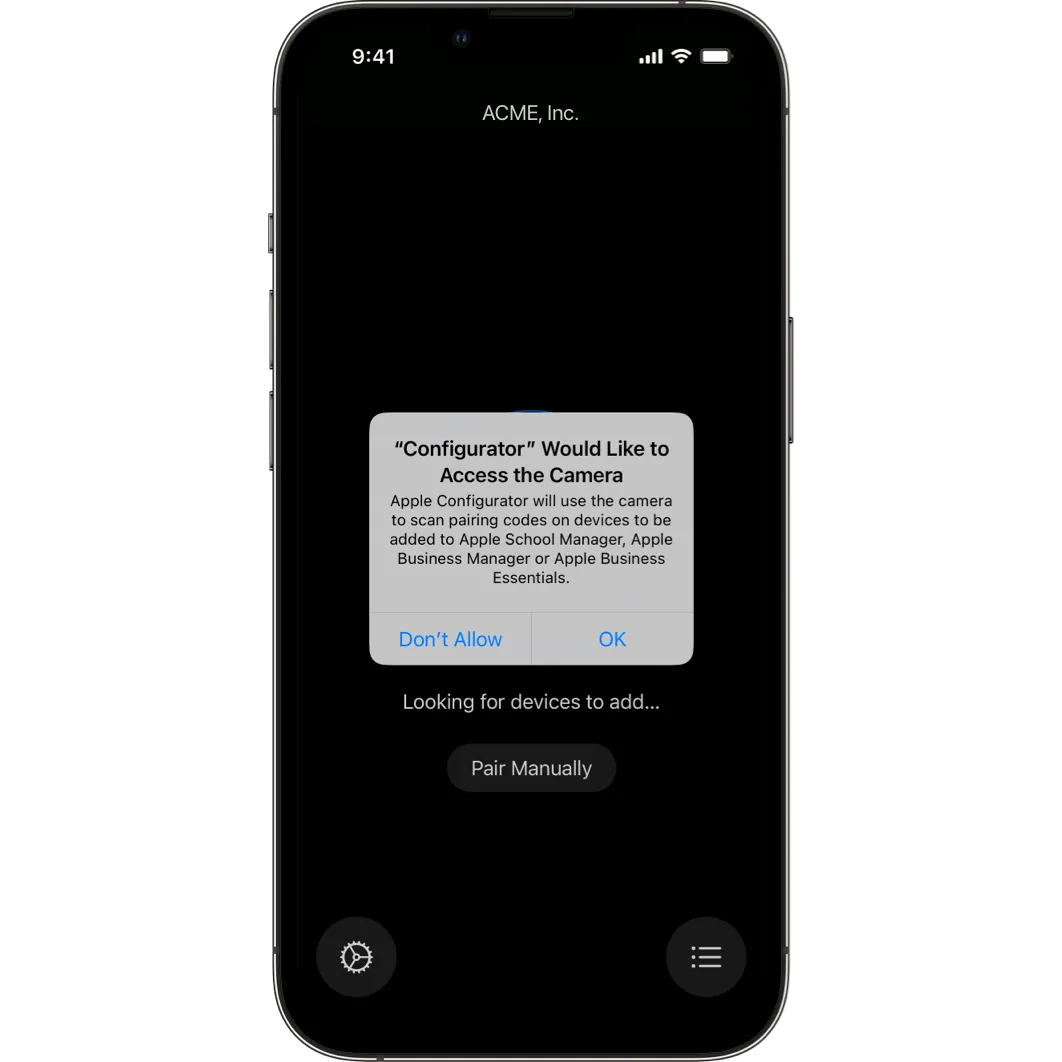
Sign in with your Managed Apple ID from Apple Business Manager, then tap Continue.
-

-
To allow Apple Configurator to access the camera, tap OK.
-
-
Continue the process on the organization-owned Mac computer that you want to add to your organization in Apple Business Manager.
-
-
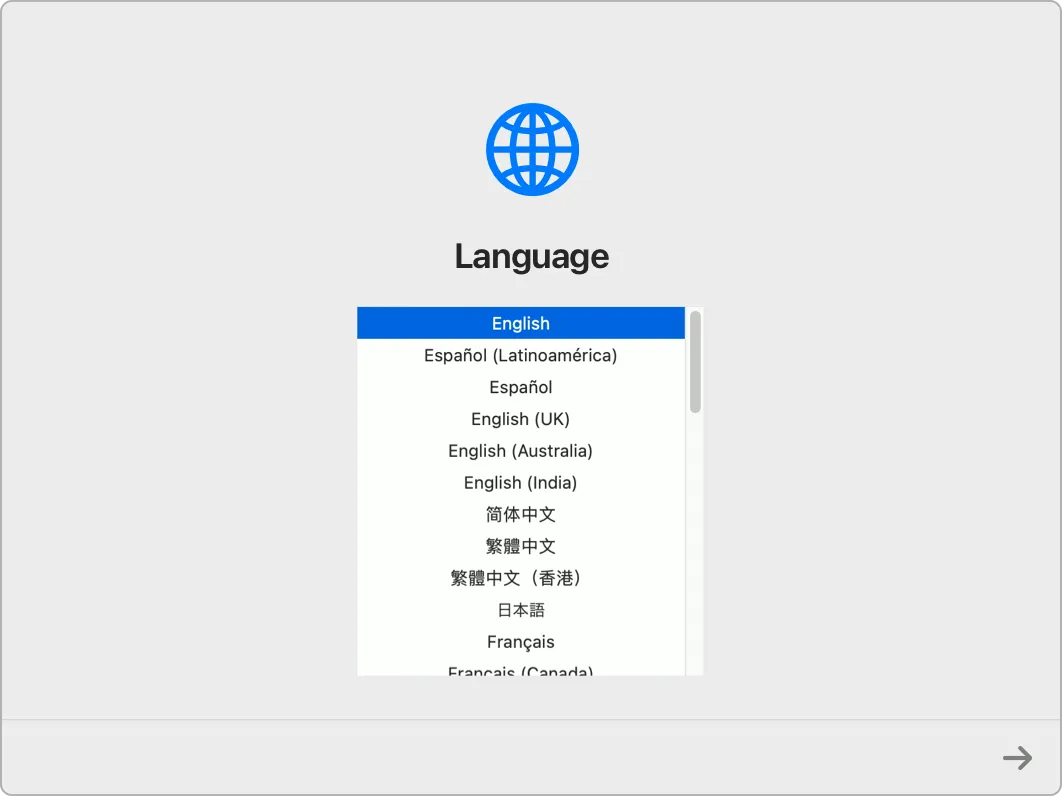
Start up the Mac and begin setup. Select the language in Setup Assistant and click Continue, then stop when the Country or Region pane appears.
-
If you go past the Country or Region pane, you must restart the Mac.
-
Continue the process using both devices.
-
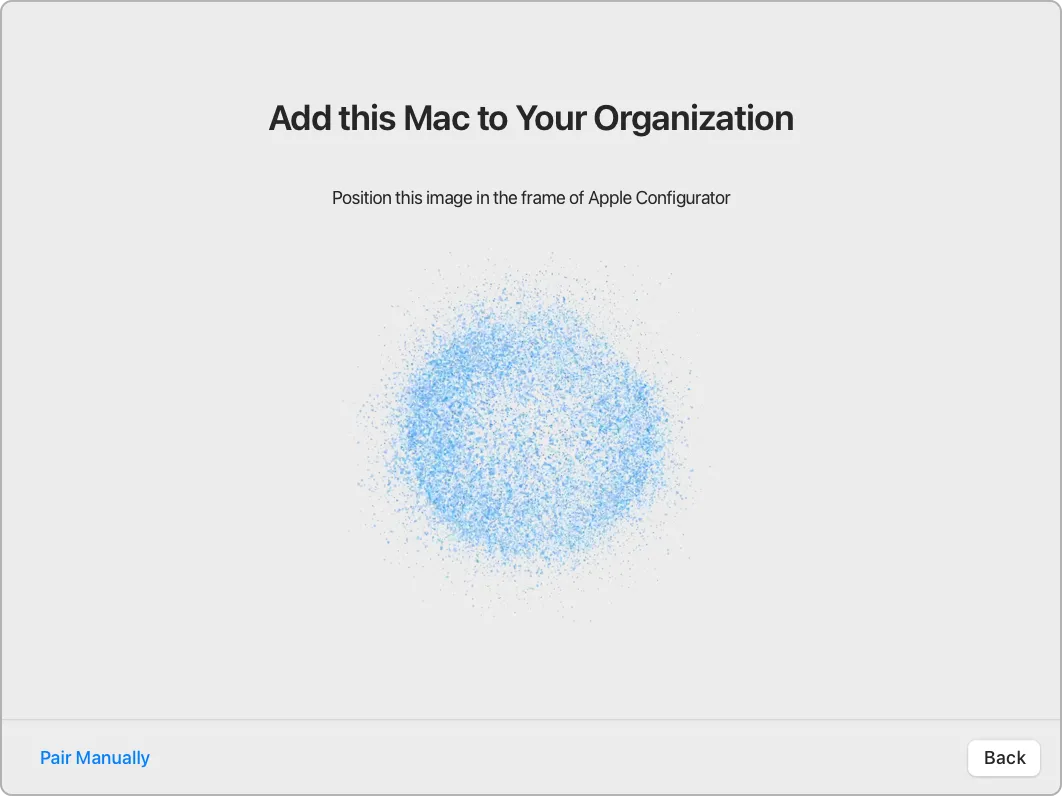
Bring your iPhone close to the Mac. When the “Add this Mac to Your Organization” dialog appears on the Mac in Setup Assistant, scan the image pattern using the camera of your iPhone with Apple Configurator.
-
-
The serial number and other information about the Mac are uploaded to Apple Business Manager.
-
-
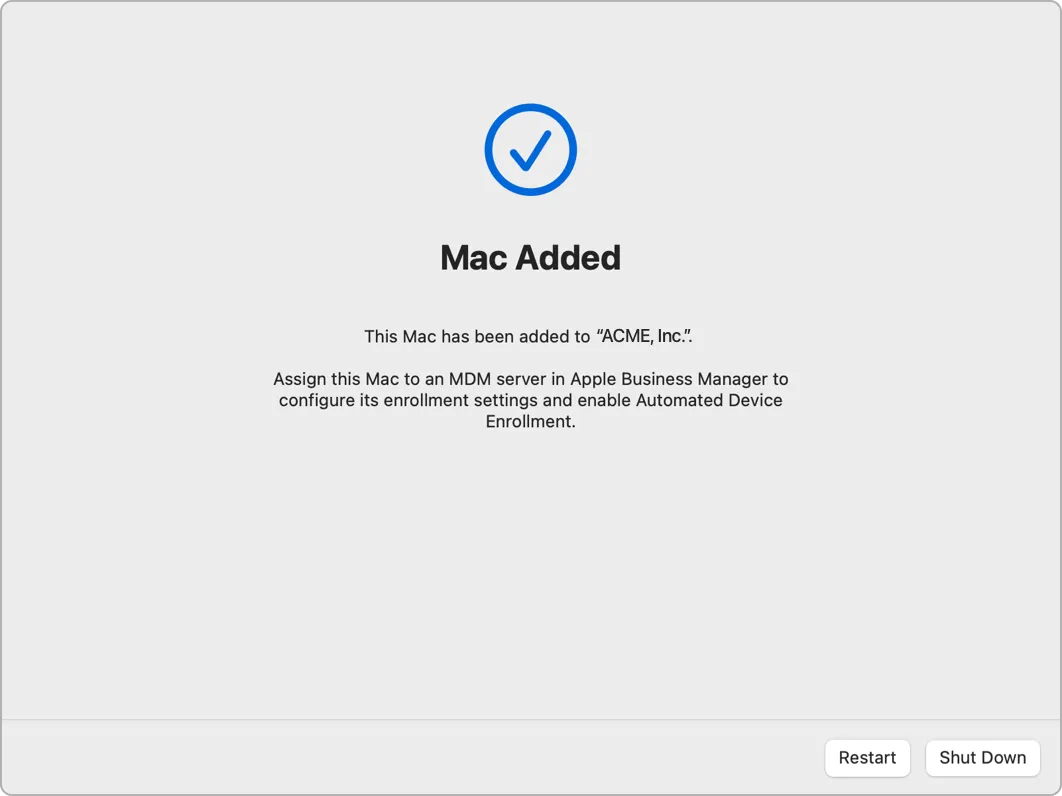
Monitor the process on the Mac until it’s added, then click Shut Down to turn off the Mac.
Important: If you want the Mac to enroll in MDM, don’t restart the Mac until you assign the Mac to an MDM server using Apple Business Manager. Follow the steps in the next section to verify that the device appears in Apple Business Manager, Apple Business Essentials, or Apple School Manager and assign the Mac to an MDM server.
Reference: https://it-training.apple.com/tutorials/deployment/dm060#Manually-Add-a-Mac-Using-iPhone
-
-
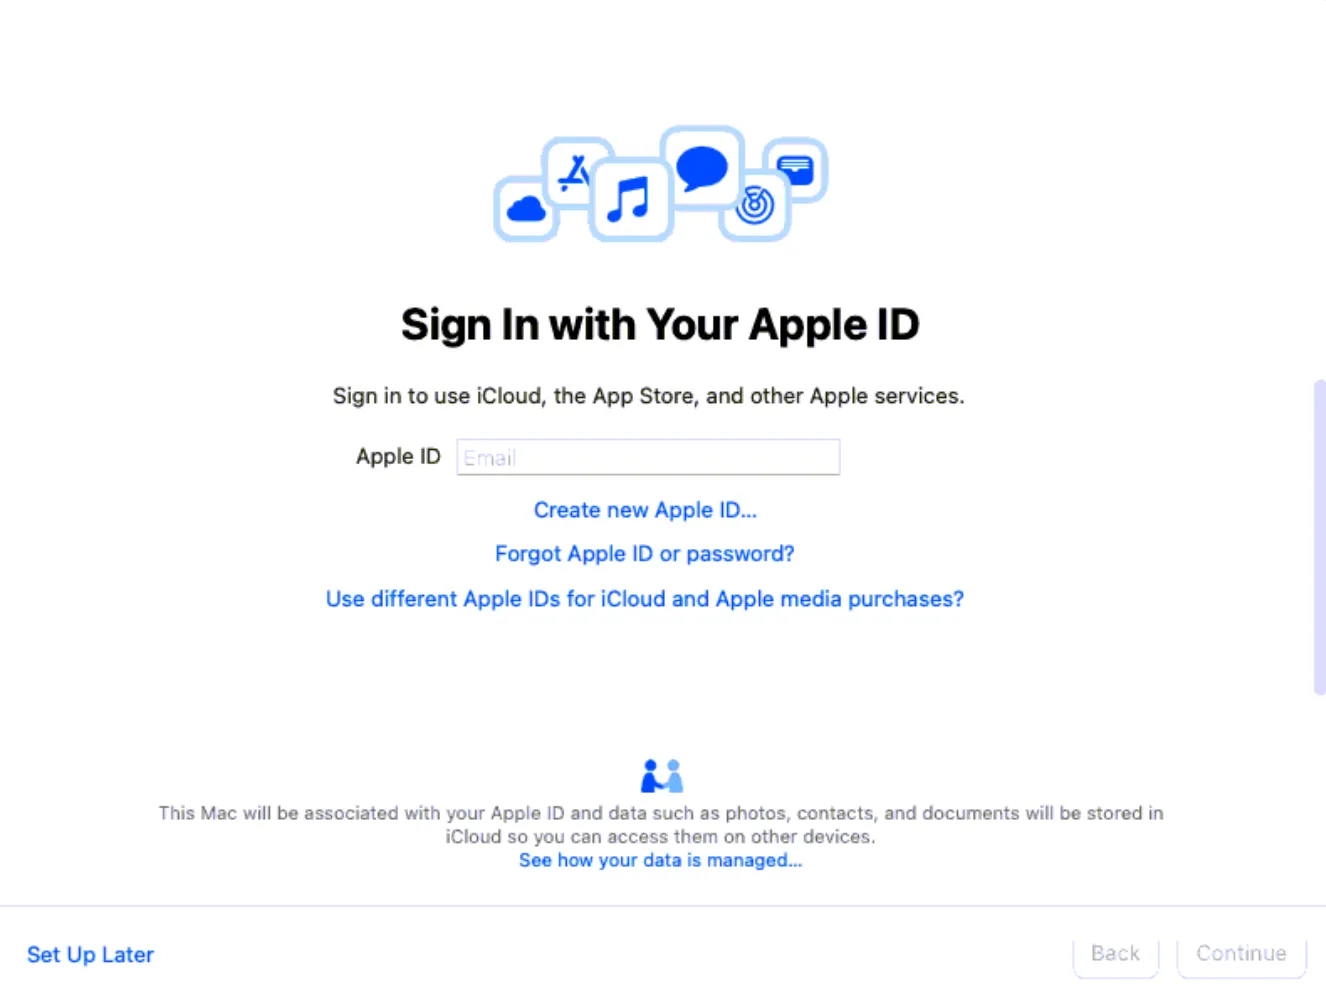
Skip Apple ID setup
-
-
Skip TouchID Setup
-
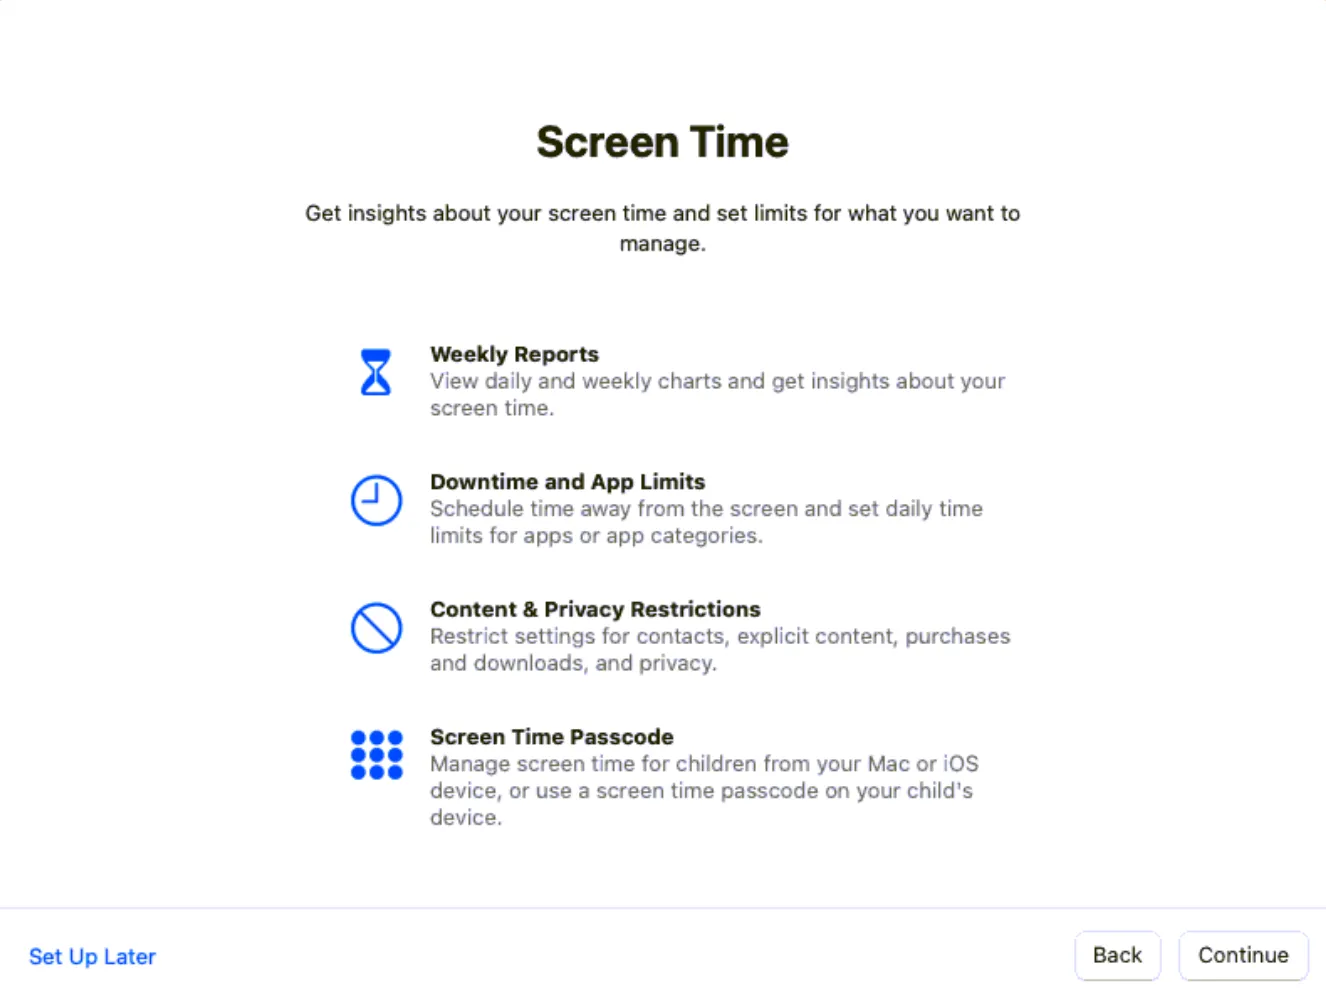
Skip Screen Time Setup
-
-
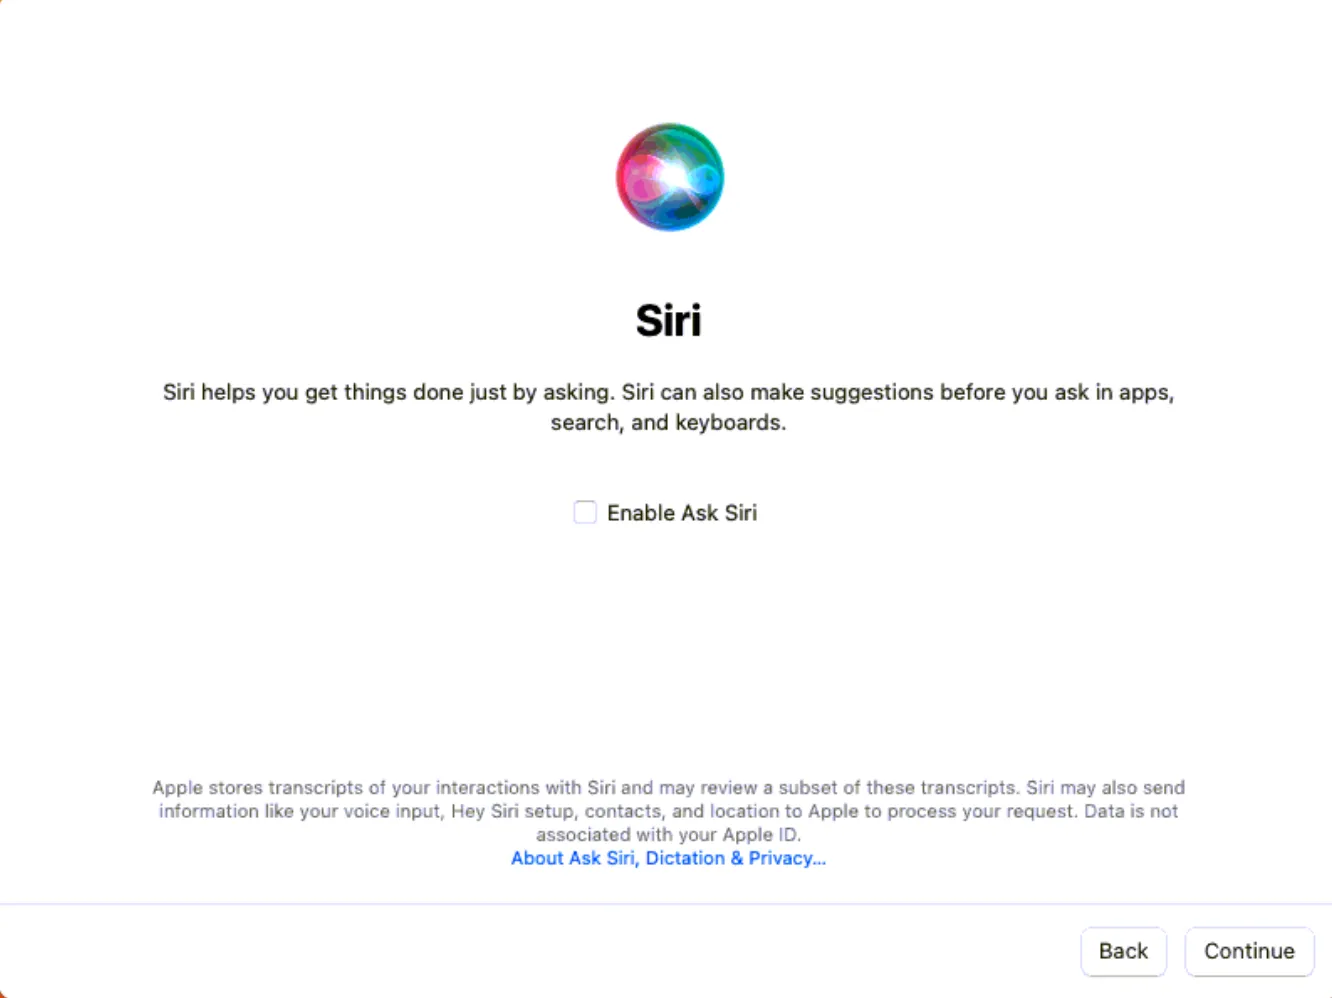
Do not enable “Hey Siri.”
-
-
Setup a localuser account with the CIT localuser password
-
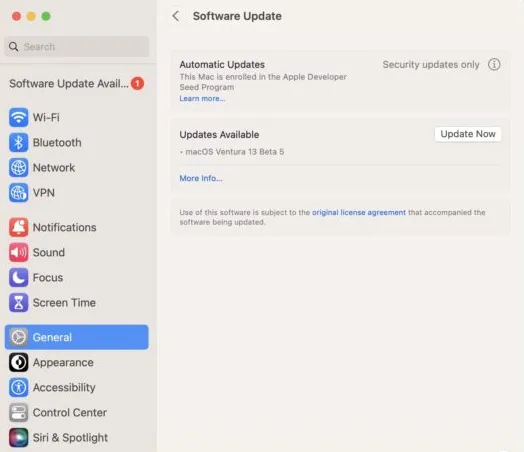
Run macOS updates under General>Software Updates
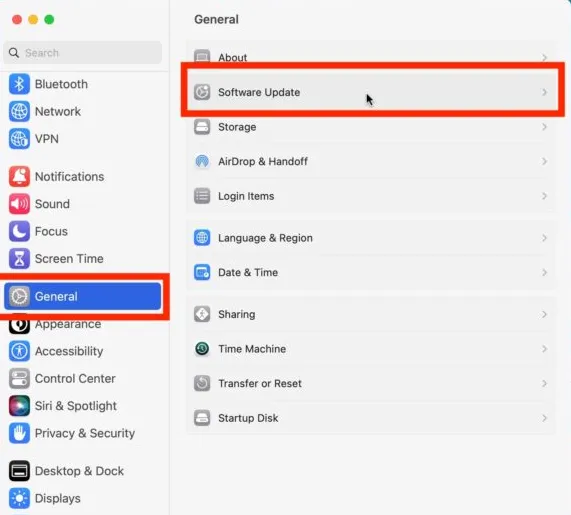
- Select “Update Now,” which will require admin creds
Begin installing the PBA’s
Section titled “Begin installing the PBA’s”-
Locate the CIT provisioning folder in
-
//cit-fs.rdcsecure.com/Operations/cTAC/Software/Client Software/CIT
-
CentrexIT Sharepoint centrexIT - Service Desk General Archive/cTAC/Software/Client Software/CIT
-
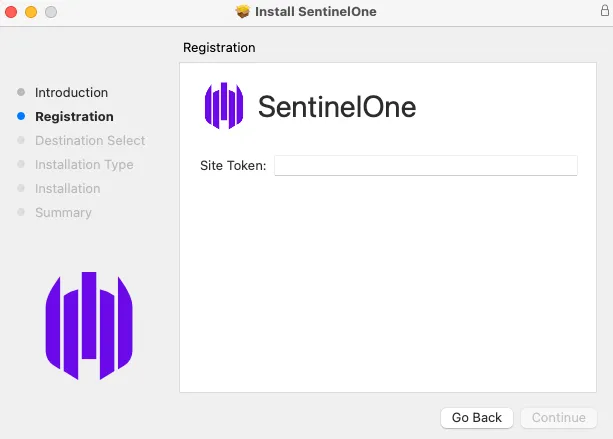
Install SentinelOne with the CIT S1 Key, (The key will be in the S1 portal or in a note along with the installer)
-
-
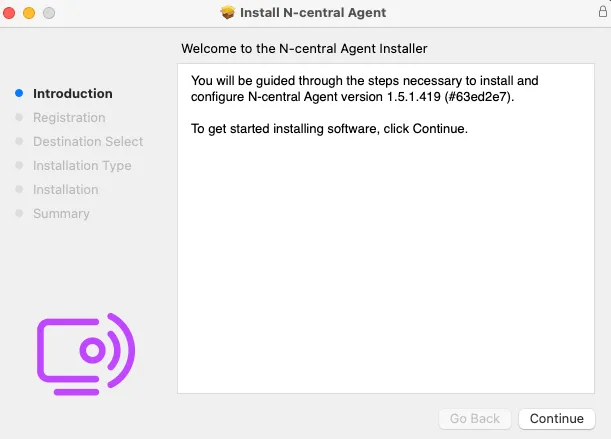
Install the CIT Windows Agent for macOS
-
-
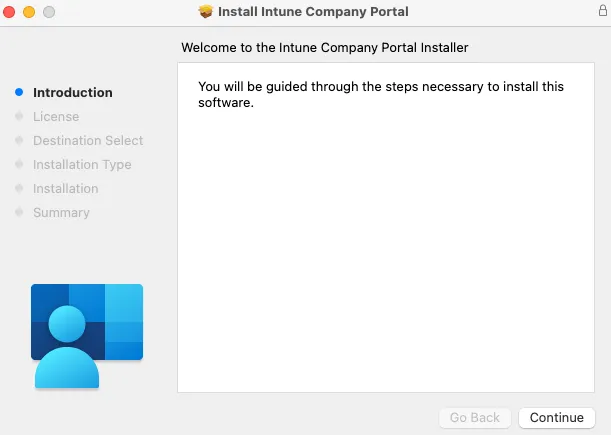
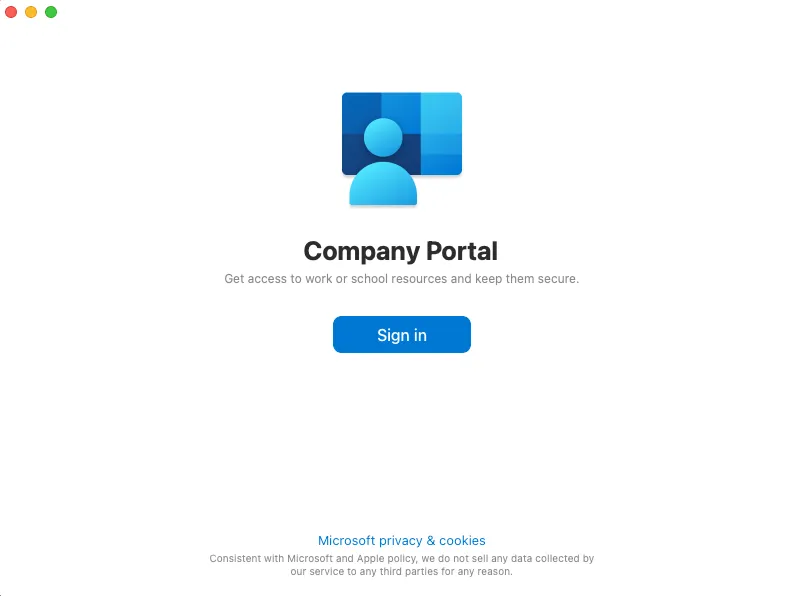
Install the Microsoft Work portal application: https://go.microsoft.com/fwlink/?linkid=853070
-
-
Install Office through portal.office.com
-
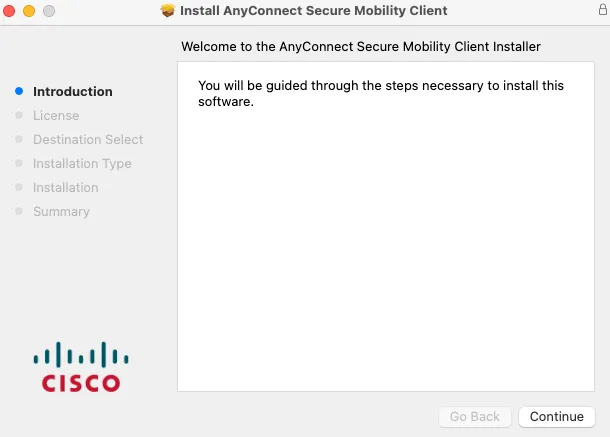
Install Cisco AnyConnect, CIT Address: cit-ais-mx-1-qkrrgvjkjk.dynamic-m.com
-
-
Install WebEx for macOS
-
Install PhraseExpress for macOS
-
Start a screenconnect Session form help8787.com
-
Download the screenconnect application
-
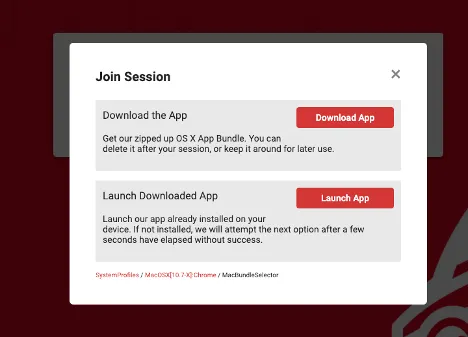
-
In the Finder, drag the newly downloaded Screenconnect application from the Downloads folder to the Applications folder
-
Open the application, and the session should begin shortly
-
Please enable all permissions in Privacy & Security under “Screen Recording” and “Accessibility.”
User Setup
Section titled “User Setup”-
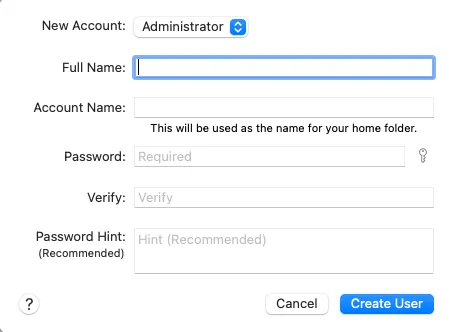
Create a local admin account for the user
-
-
From the Apple Menu, select “log out” and sign into the new user account,
-
go through the same out-of-box defaults as we began with, skipping the same settings. The user can adjust those if needed.
-
Have the user sign into the Microsoft Work Portal with their work account
-
-
add the Office, Webex, and Cisco Anyconnect apps to the Dock
-
Verify all applications pictured below are present

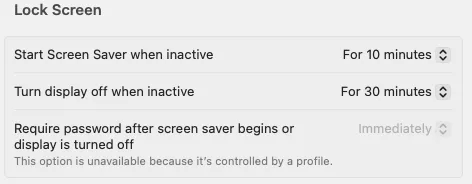
- Set the device to Start Screen Saver after 10 minutes, and turn the display off after 30 minutes
-
The company profile should require a password immediately once the lock screen or screensaver is activated
-
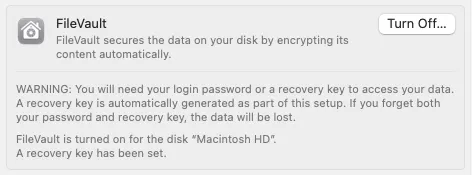
In Settings>Privacy and Security, verify that FileVault Encryption has been enabled and saved to the Microsoft account (It will be 100% compliant if that is the case)
-
Verify that SentinelOne is active
-
Verify that all N-Able/MSP Anywhere and SentinelOne permissions are listed under the Privacy and Security> Accessibility. Screen Recording and Full Drive Access sections are enabled
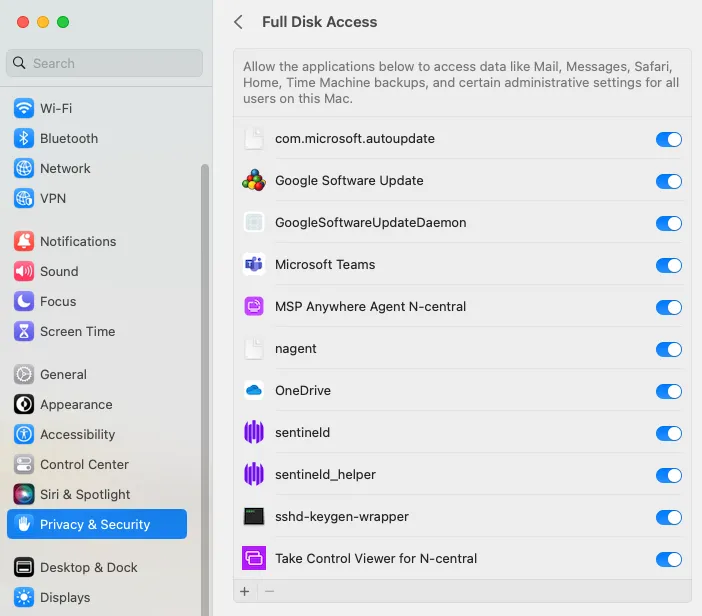
-
Please also ensure that auto-update for Chrome and Office is enabled as well, along with any other permissions Microsoft apps may need
-
Verify device compliance in the Company portal once everything has been installed and activated
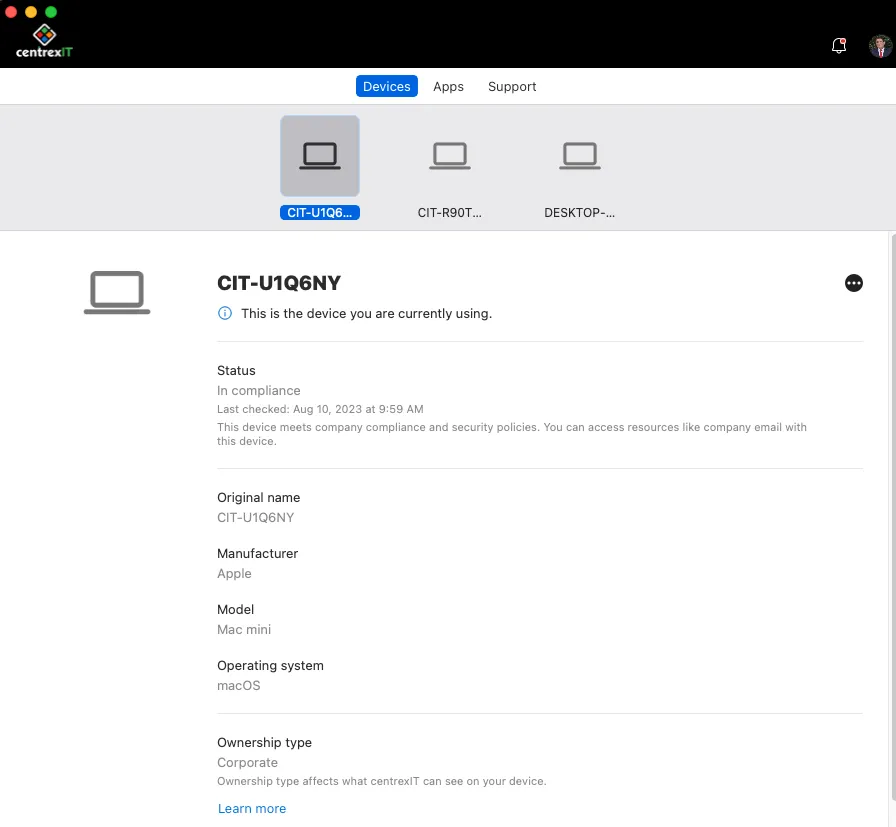
-
Once all apps have been completed and compliance has been certified, you can begin the handoff to the user or ship to the new user.
-
We are retiring the FS, but if the user needs drive access, please reference KB00026721 [retired]