This KB documents the procedure for deploying the SSL certificate/OAuth for dev.Halo.app.
SSL Deployment
1. Go to https://centrexitdev.dreamtsoft.com. This is the super admin space.
2. Click the yellow System icon on the left to open the space menu, then select the Bundle configuration icon at the bottom left.

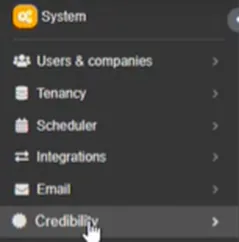
3. Click on Credibility.
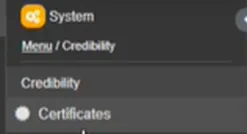
4. Click on Certificates.
5. The current SSL certificate should be listed on the page that opens. A new certificate can also be added here as well. In both cases, the certificate type is SSL Host Certificate. While this KB will document creating a new certificate entry, a copy of the current certificate can be created by clicking on the certificate site, then clicking on the three dots at the top right of the page that opens, followed by clicking Copy from the drop-down menu.

6. Click the plus sign at the top right to open the page to add a new certificate.

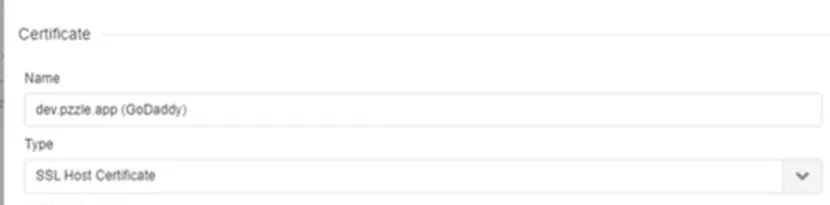
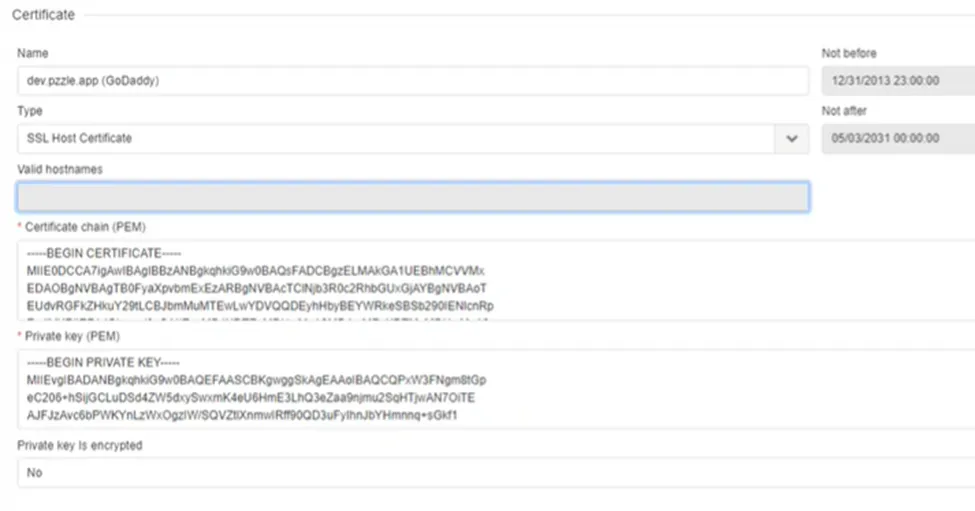
7. On the page that opens, fill out the following information:
· Name: The hostname the certificate will be used for. In this case, it will be dev.Halo.app. Add (GoDaddy) in parenthesis after the site address.
· Type: SSL Host Certificate
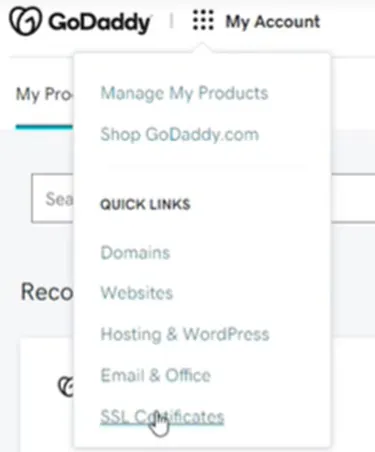
8. For Certificate chain (PEM) and Private key (PEM), go to GoDaddy (https://account.godaddy.com/products) and under Centrex’s account, click the My Account menu at the top of the page, followed by SSL Certificates in the drop-down menu.
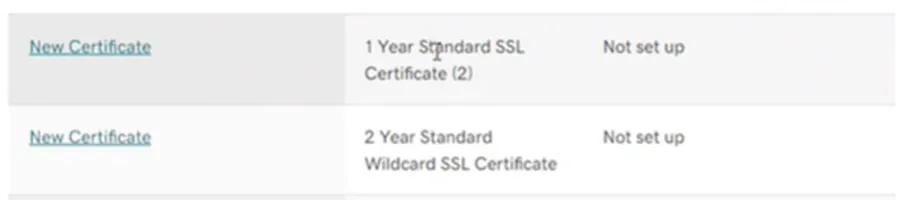
9. Select the option for New Certificate for 2 Year Standard Wildcard SSL Certificate.
10. In the page that opens, enter the primary domain. In this case, it will be wildcard *.Halo.app. After this, click continue.
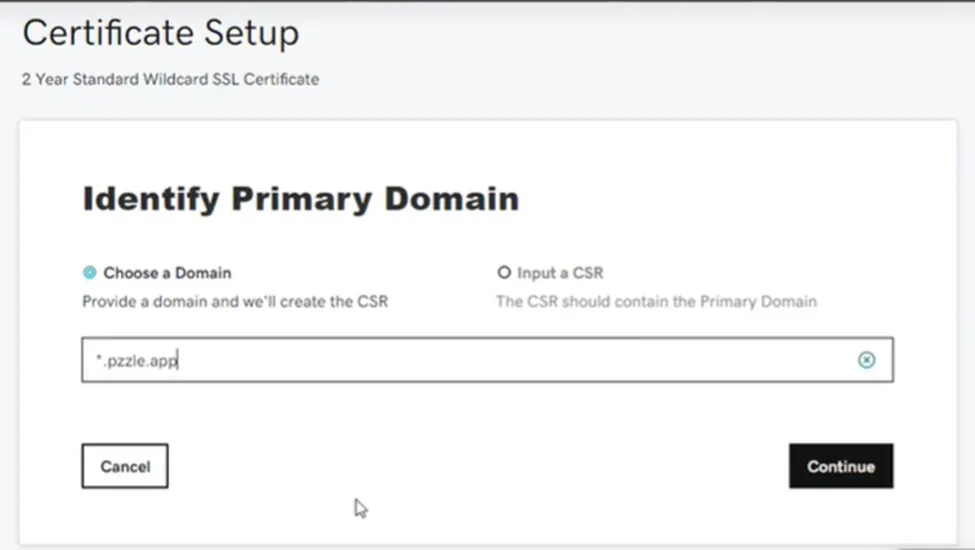
This will then generate the private key and CSR.
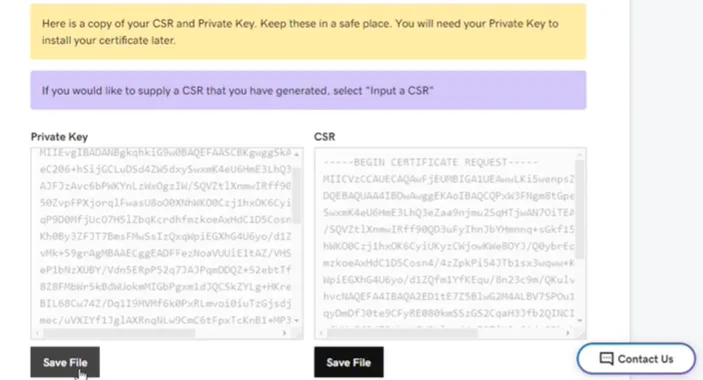
Save a copy of the information that was generated and then click Continue.
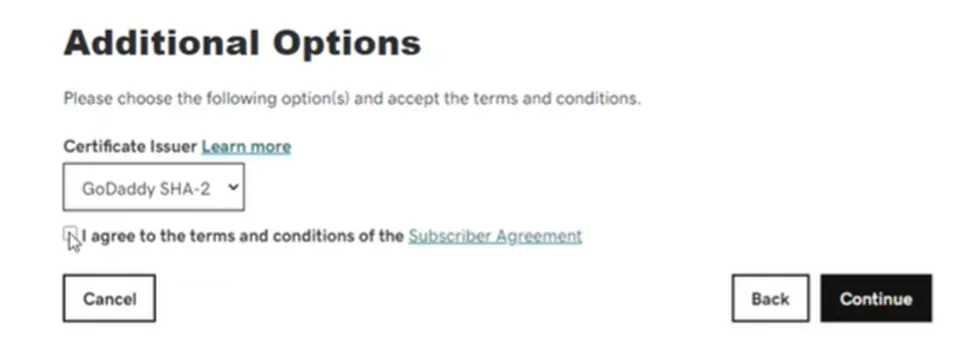
11. On the next page, leave the Certificate Issuer as GoDaddy SHA-2 and check the box for “I agree to the terms and conditions of the Subscriber Agreement”. After this, click Continue.
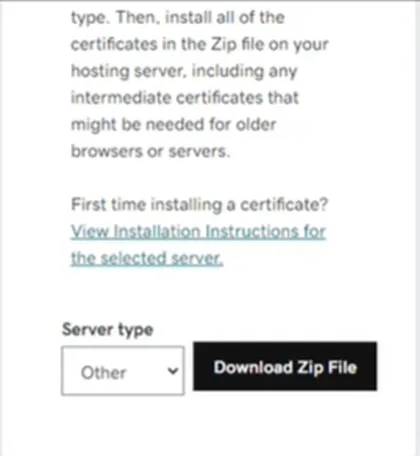
12. A verification email will then be sent to the domain owner’s email address on the next page. If it doesn’t go through, click the option for “Resend Domain Control Email”. The current verification email is accounting@centrexit.com. After this, the certificate will verify and show a status of “Certificate issued”. On the same Certificate Details page, set the Server type option on the right to Other and click Download Zip File.
13. The downloaded ZIP file will contain the two certificate files (including the single chain file) and the PEM file. Return back to the certificate creation page in Halo. Copy the certificate chain from the current SSL certificate that lists the *.Halo.app among the valid hostnames into the Certificate chain (PEM) box. Obtain the private key from the downloaded files and copy it into the Private key (PEM) box. Check to make sure that there are no spaces after the last line with the text for both boxes, as this can cause the certificate to not save. After this, click the icon for Save and stay here. Once the certificate generates, the page can be closed.
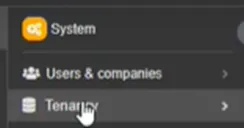
14. Back on the System menu page, go to Tenancy.
15. Click the current certification under Subdomain.

16. Click on the Certificate drop-down menu arrow and select the new certificate from the list. After this, click the Save and stay here icon.

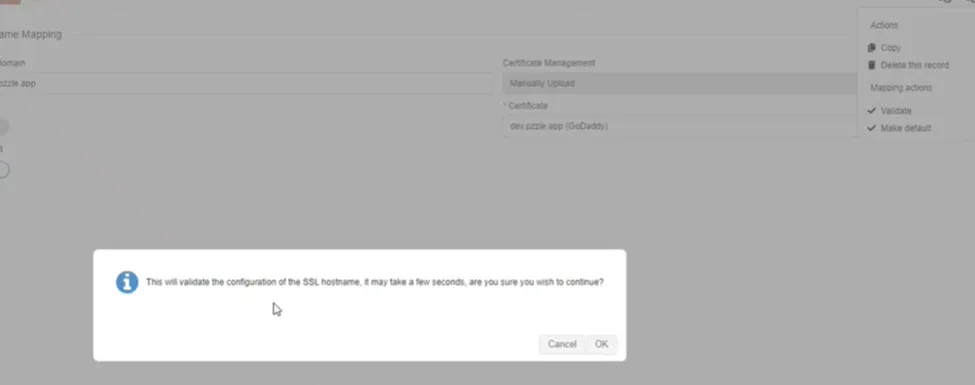
17. Click on the three dots next to the save icons and select Validate from the drop-down menu. A pop-up will appear asking to confirm validation; click OK to continue.
18. After the certificate is created in the super admin space, it will also need to be recreated in the top/parent space (i.e., the default location where everything will be handled). This is separate from the web domain. In this situation, that will be Halo.app.
19. Set Share with subspaces to True.
20. Create a data sharing rule to share from the top space down to client spaces with a condition by slot for Share with subspaces if this doesn’t already exist. A certificate copy may need to be created in each client space if authentication isn’t allowed by certificate data sharing policy. The client space hostname is <client_shortname>.Halo.app).
21. Return to Tenancy under System -> Bundle Config and click on Hostname Mapping. Confirm that the hostname mapping is set to active (it should be enabled by default).
22. Set the hostname in the system and specify which certificate to use.
23. Repeat for client spaces in that space; use the client shortname as the prefix to the wildcard domain.
Note 1: The shortname may or may not be familiar to the client and may need to be modified per client request.
Note 2: During onboarding, creating a shortname/portal domain prefix may need to be included as part of the process.
24. Create a CNAME record in Cloudflare. In the record, point dev.Halo.app to centrexitdev.dreamtsoft.com. For client spaces, create <client_spacename>.Halo.ap and point it to dev.Halo.app.
25. For the CAA record for *.Halo.app, set GoDaddy as issuer with the wildcard only option.
26. Add the content security policy for the new domain.
27. Validate hostname mapping by ensuring hostname mapping is active, selecting Validate, and then selecting Make default. In addition, update the portal activation letter if needed to use the new/dynamic URL.
At this point, testing can be done to see if everything is working correctly. The first step is to see if the HTML template preview is working correctly—if it is, the logo will display. After this, navigation tests can be done as well as checking to see if OneLogin, integration sites (Zapier, Microsoft Power BI, and SQ1), and N-Central are accessible. Link-backs should also work in email and CSAT/surveys should be accessible. If everything is working correctly, proceed to set up Azure authentication.
Azure Authentication
Before beginning, it should be confirmed that the SSL changes have been deployed and the finalized production enterprise app (Azure) has been configured for Halo and Halo Dev. In addition, you should get each tenant ID in Azure and copy it to the tenant ID in the Microsoft schema for the company record for all Azure-authenticated clients.
1. Create the master authentication configuration as inactive.
2. For the client, select Hostname Mapping.
3. Check the options for Redirect URL and Add/authorize in Azure.
4. Add the Client ID (the application/client ID in Azure).
5. Add the client secret (this is specified on the enterprise app).
6. Create/save to the vault.
7. The parameters should be as follows:
· Can create users: Enabled
· Scope: Email, OpenID, Profile
· Prompt: Enabled
· Consent type: Select account
8. Copy the authentication configuration and change it to the appropriate company/space. Set the background color to match that of the client.
9. Change the organization(s) in the authentication URL to the tenant ID for the client.
10. Add redirect URLs for any authentication configurations created.
11. Enable and activate the configurations.
12. Pre-authorize the app for all users. The permission for this will need to be enabled in Azure.
12. Change the user authentication method for current Halo users to the new Microsoft authentication method.
13. Select the option to Validate.
14. Identify any changes needed to the activation letter, i.e., does it still need to be turned on, will users still need local authentication, etc.
At this point, testing can be done by logging in as an authorized user to the Halo dev tenant. If working correctly, this should be successful. Also test logging in as an unauthorized user (this should be unsuccessful). Finally, test local authentication for a user who’s been switched to Microsoft authentication.
Next Steps
Test OAuth with A Testing Company. If testing is unsuccessful, proceed to the backout plan, which is to disable the new hostname mapping.