This article will give you an overview of how to take a screenshot of the photo preview in Microsoft Teams.
Goal: We want to produce a company “tiled” photo composition like the following example.

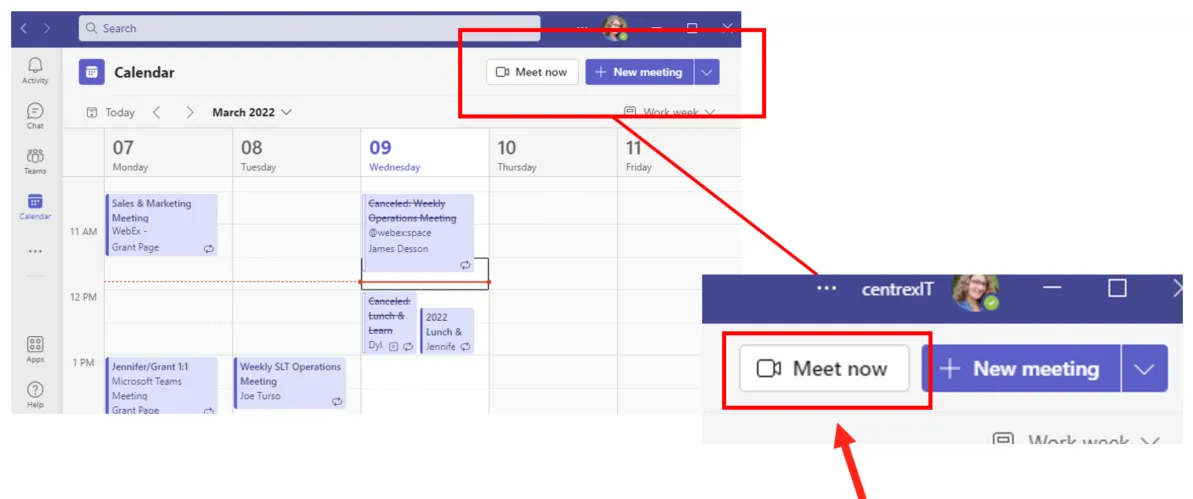
Step 1: Open the MS Teams Application and Navigate to Meeting Preview
Section titled “Step 1: Open the MS Teams Application and Navigate to Meeting Preview”- Open the Microsoft Teams application
- Select “Calendar” icon on the left-hand side
- Select the “Meet now” button at the top right of the calendar view
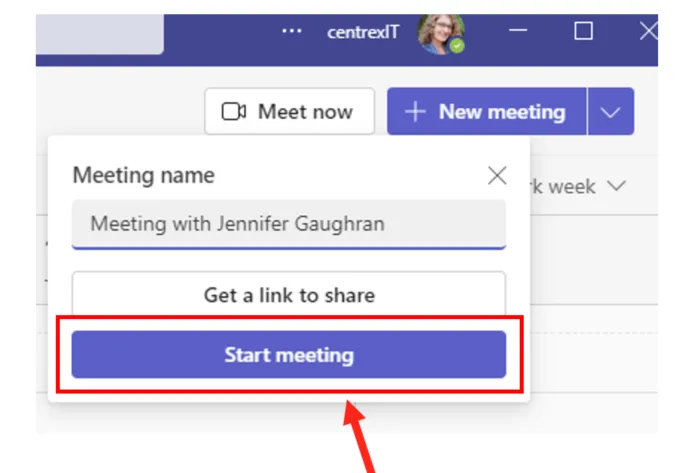
- Select the “Start Meeting” button
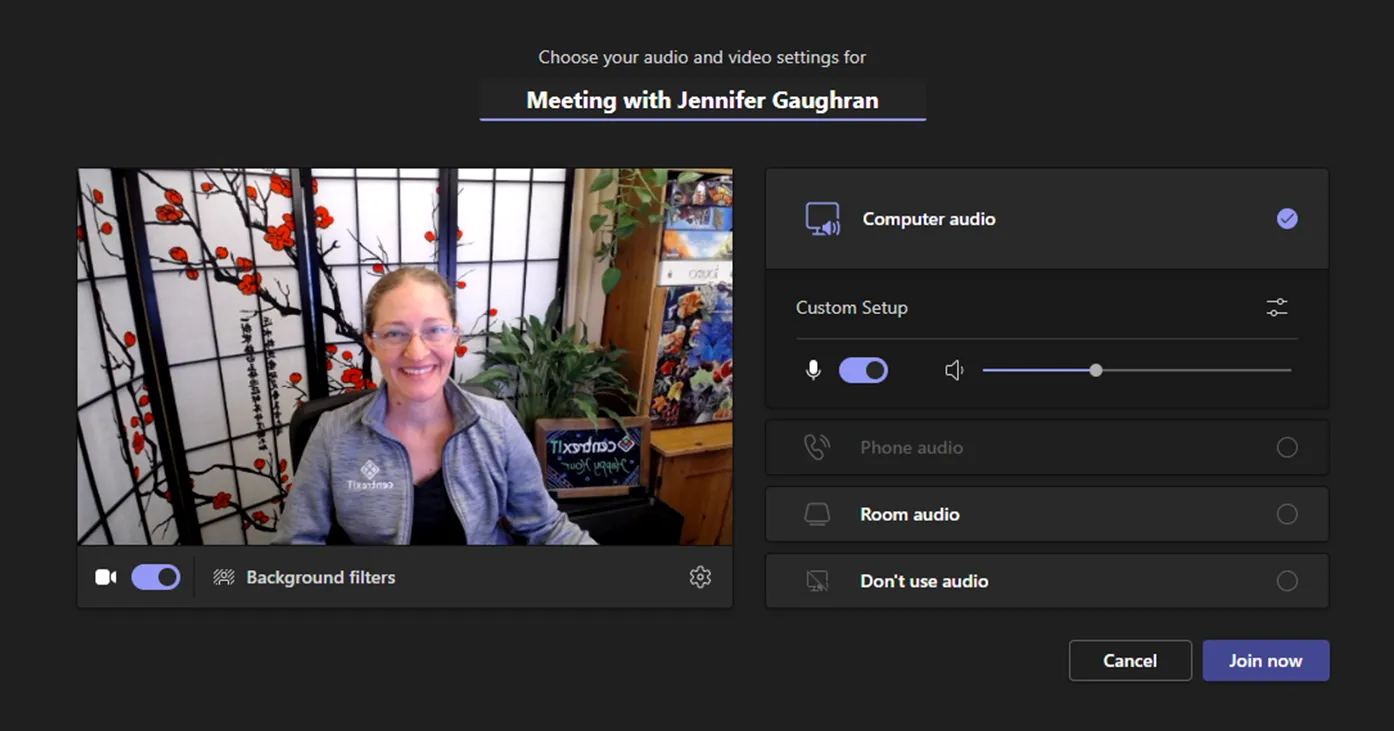
Step 2: Take a Screenshot of the preview screen
Section titled “Step 2: Take a Screenshot of the preview screen”- Take a screenshot of the preview screen using a tool like Snagit.
- Save the file with your first and last name and the date in the file name.
- Upload your file to SharePoint: MS Teams Screenshots
- Notify Marketing team that your photo is available
Dos and Do Nots
Section titled “Dos and Do Nots”- DO take a screenshot of the whole screen! We will crop it to the appropriate size.
- DO NOT flip your photo, even though it will be backwards in the preview. We will flip it for you in the final compiled image.
- DO use a good webcam if you have it and not the integrated one.
- DO use a virtual background if your background is messy
- DO smile! Clothing can be casual, centrexIT branded, or business casual. The photo will be used on our public website.
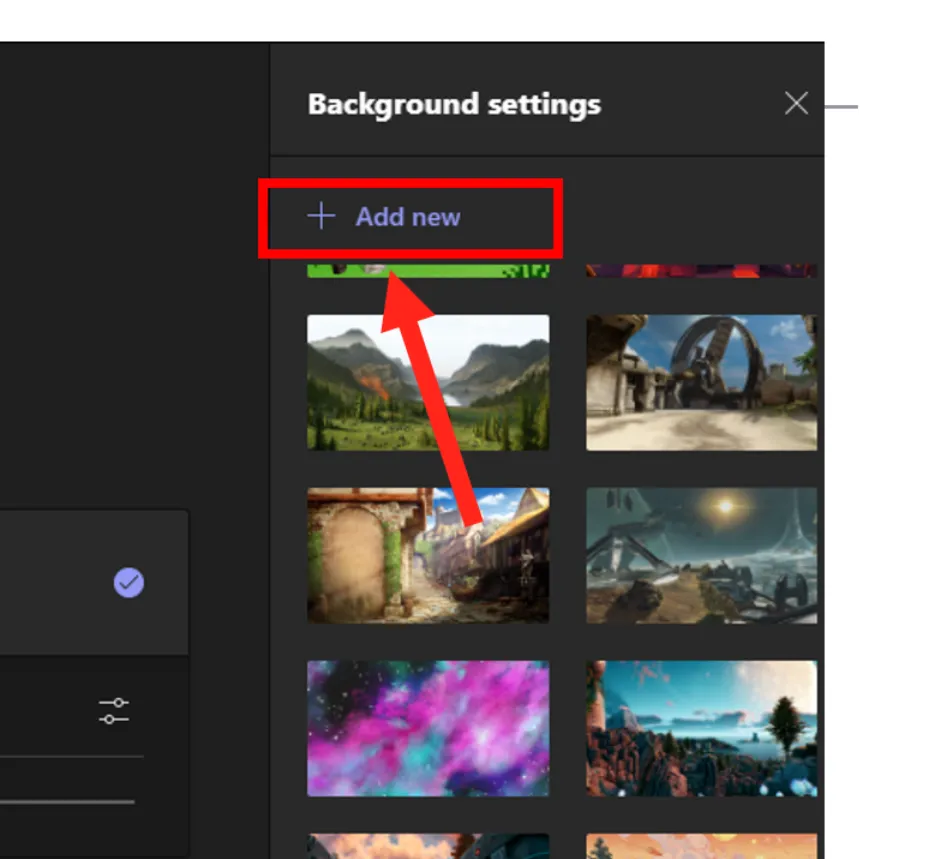
Setting Up a Virtual Background
Section titled “Setting Up a Virtual Background”- Select “Background filters” under the preview image. This will bring up a selection of background options to the right. Click on a background to activate it as your virtual background.
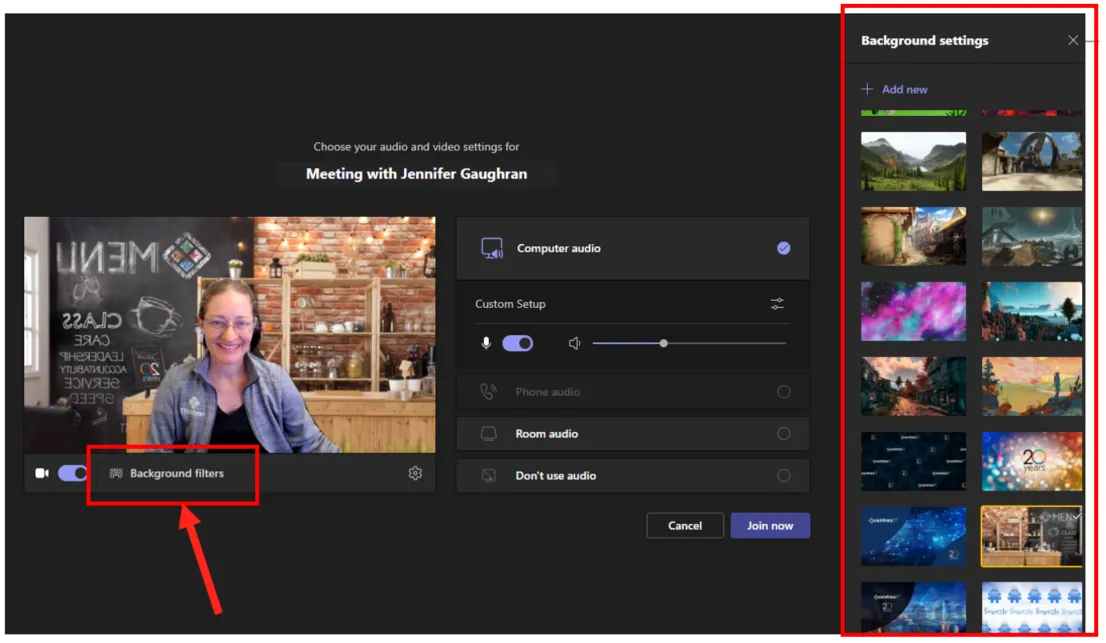
To add your own background, select the “Add new” button and upload a file of your choice. You can find centrexIT-branded Virtual backgrounds in Microsoft Teams. Reference KB00002373 to learn where these are.