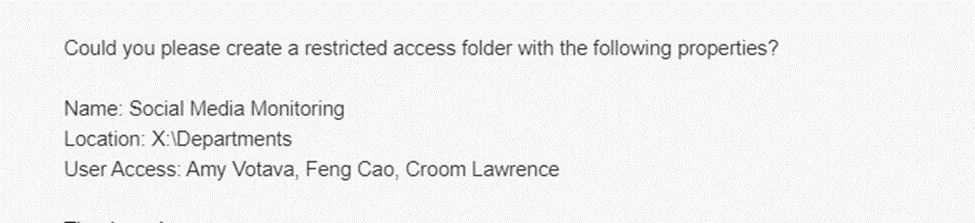
You will need to know where the folder is to be created, the folder name, and the users assigned.
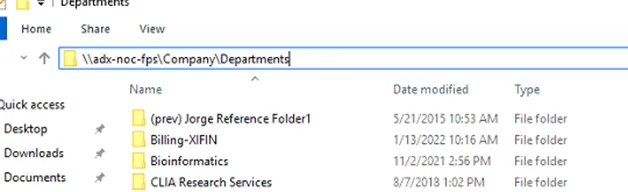
Browse to the UNC full path of the folder.
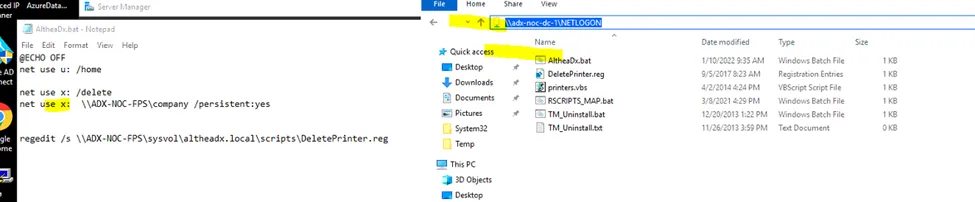
If you do not know what the path is for the letter specified, browse to the domain controller via File Explorer, open the “NetLogon” folder, and review the login scripts.
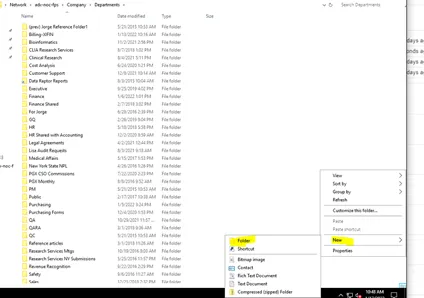
Right -click the open white area and select “New” -> “Folder” and name it per request.
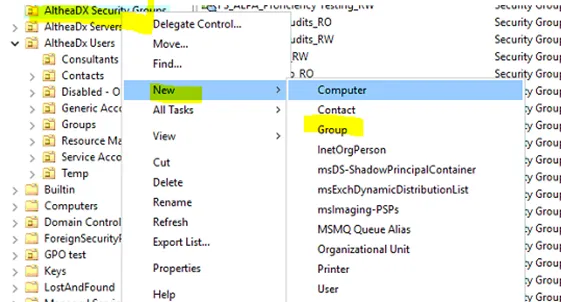
Back in Active Directory, right-click on where security groups are kept and select “New” -> “Group”.
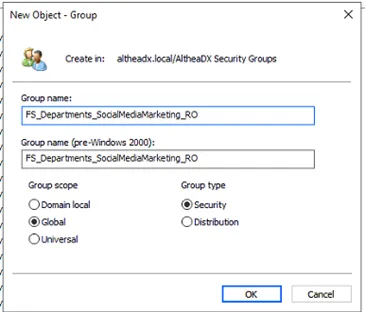
Follow the naming convention used already in Active Directory; be descriptive though, so there is no debate what that group controls. For example, this is marked “RO” for Read Only—we will make an “RW” also for Read/Write.
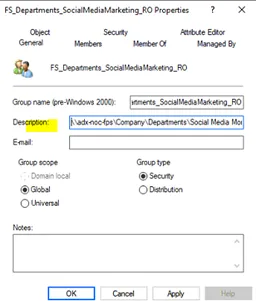
Double-click the group you made.

Copy in the UNC full path to “Description”.
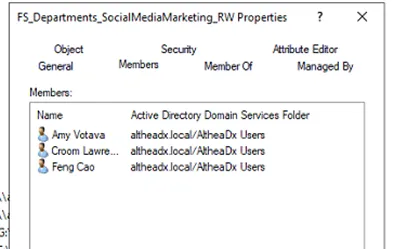
Both RW and RO groups should now be made.

Double-click “Group”, go to “Members”, and add members needed for access.
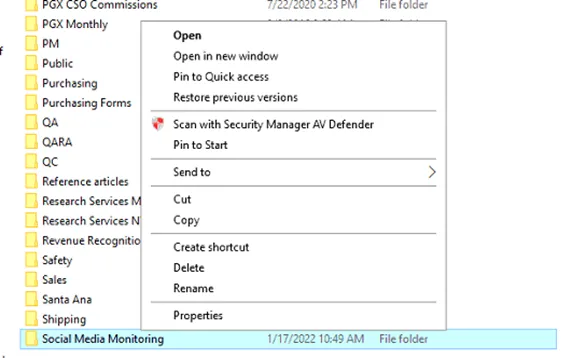
Go back to the folder you made, right-click, and select “Properties”.
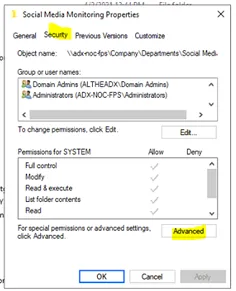
Then “Security”> “Advanced”.
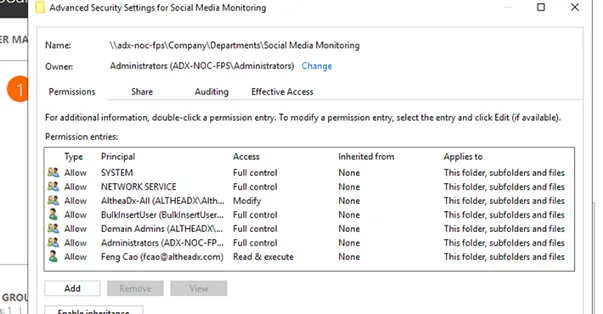
Click on Disable Inheritance.
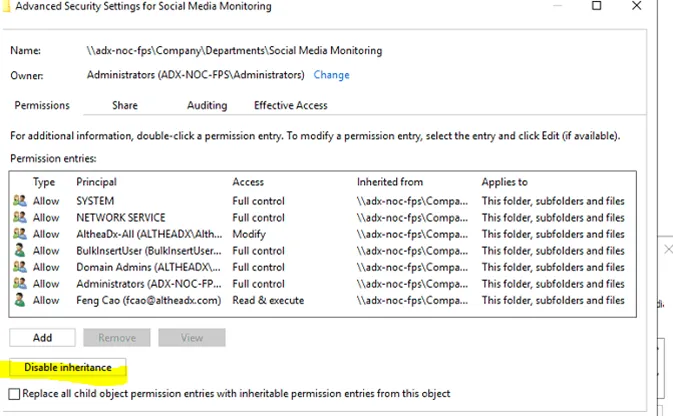
Then remove all permissions except for “System”, “Network Service”, and “Domain Admins”.
Click Apply and then OK.
Right-click the folder again and go to “Properties” ->”Security” ->”Add”.
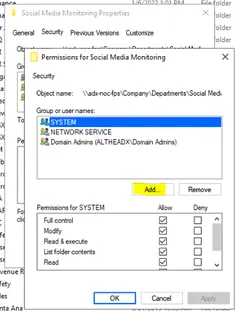
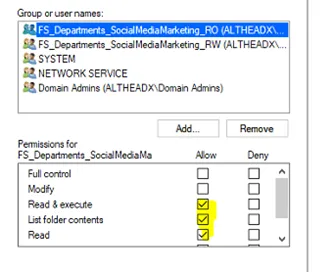
We will add the two groups we created.

RO Groups will only have “Read & execute”, “List folder contents” and “Read” permissions.
RW will have all RO permissions as well as “Modify”.
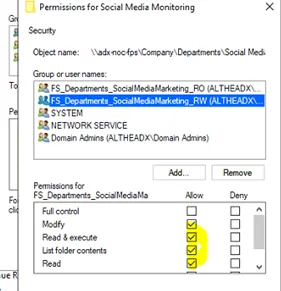
Click Apply and then OK.
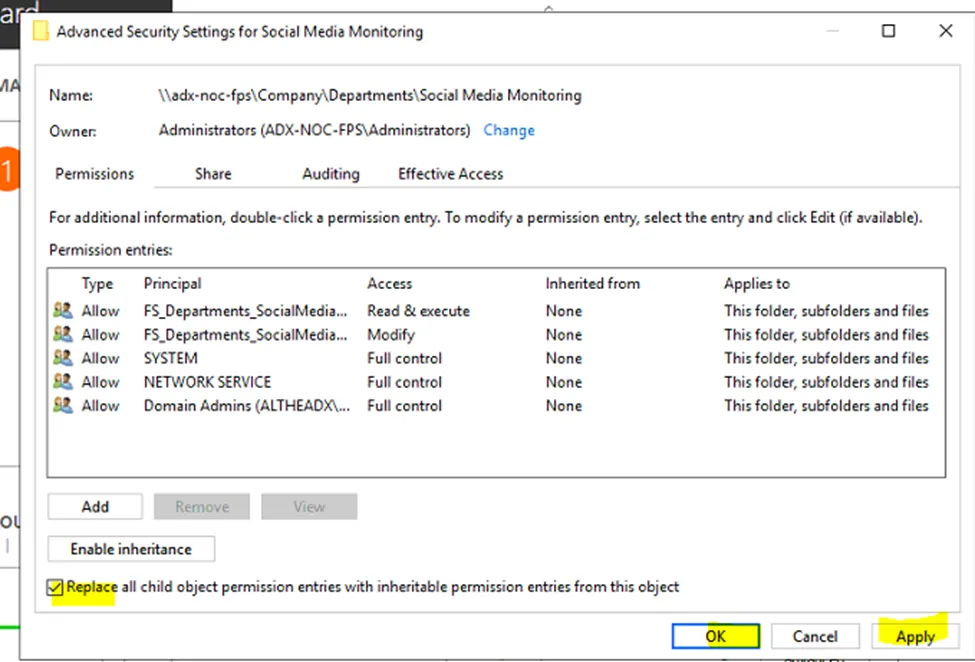
Go back to Advanced and check the box to “Replace all child object…”, select “Apply”, and then “OK”.
Verify with the end user that they can access the folder after logging in and out of computer.