PROCEDURE This work instruction explains how to create a user in Concord in order to enable the user to send centrexfax.
Note: Concord is used by the following clients: ACCMG, centrexIT, Nalu, Occupational Services, SDHS.
REQUIREMENTS
Note: Before proceeding, please check to see if the client has a site license or not; this can currently be found in ConnectWise by checking the products the client has purchased (the license will be listed as C-VAR-FW). If the client doesn’t have a site license, we will need an approved quote to create a new user/number. Please notify Katie once the quote has been completed so she can proceed with billing.
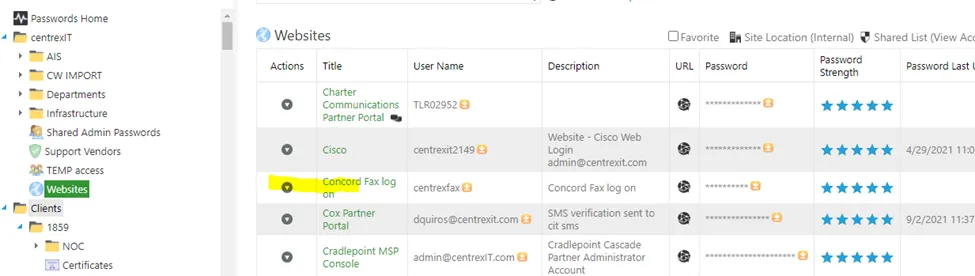
The credentials below are needed from PWState under CentrexIT -> Websites.
STEPS
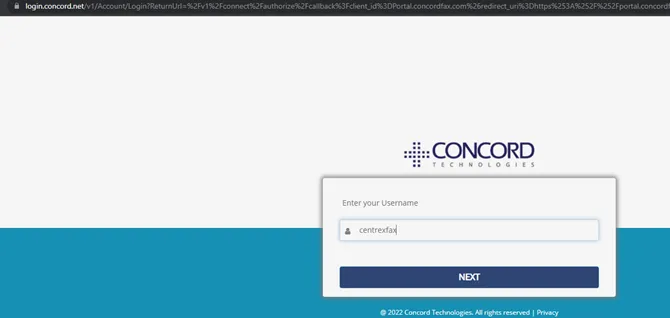
1. Go to https://portal.concordfax.com/ and login with the credentials.
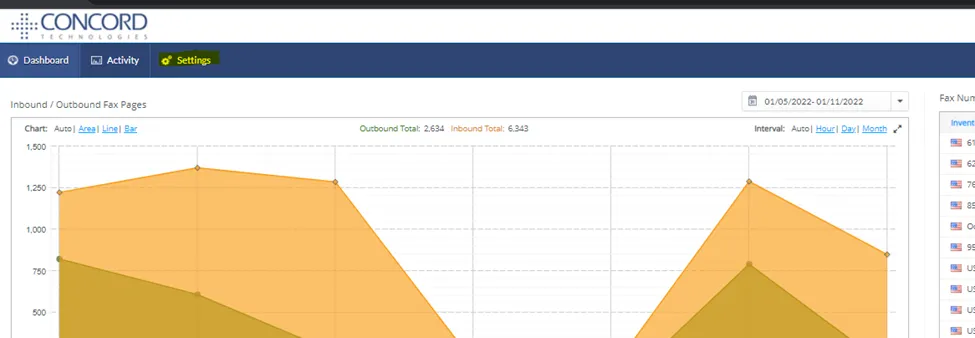
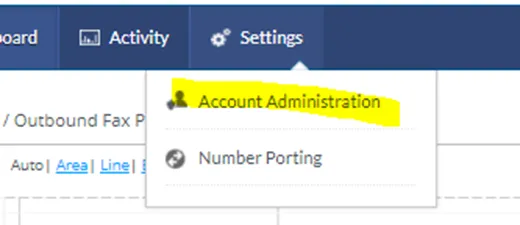
2. Select Settings.
3. Select Account Administration from the drop-down menu.
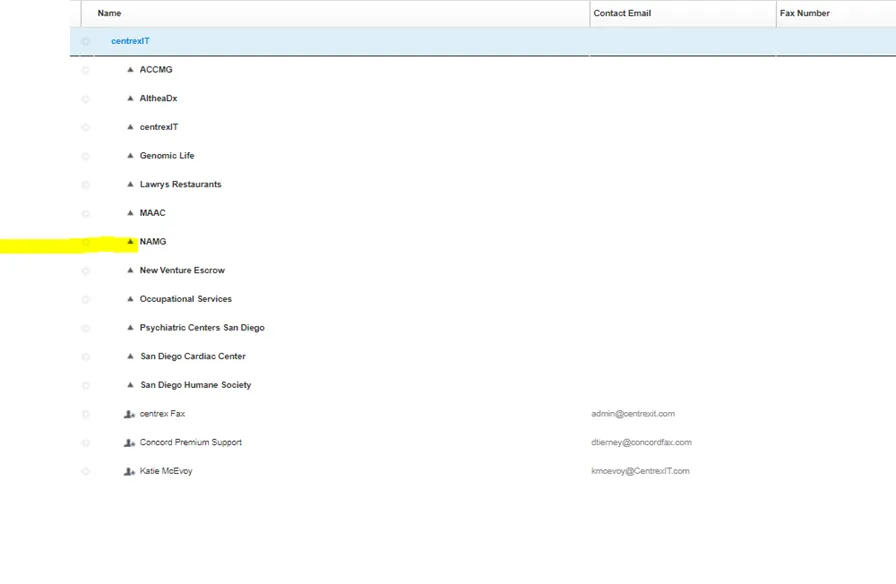
4. Select the client the user needs to be added to; in this example, this is NAMG.
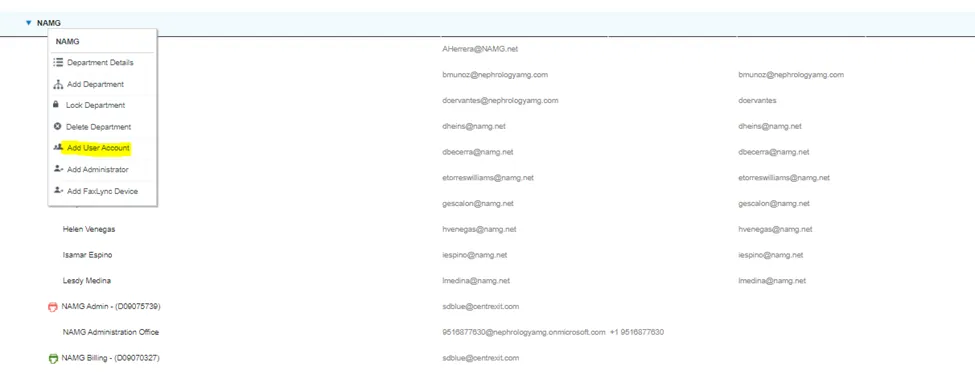
5. Right-click the client and select Add User Account.
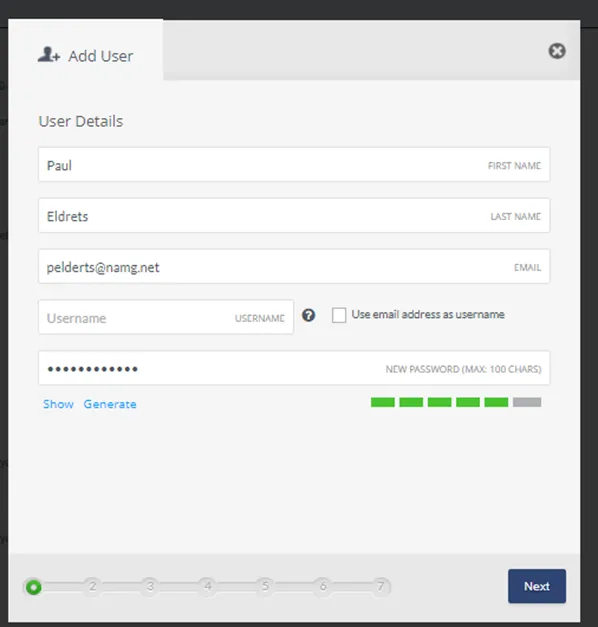
6. Enter the name and email and then click to generate a password; neither we nor the user need to know what it is. After this, click Next.
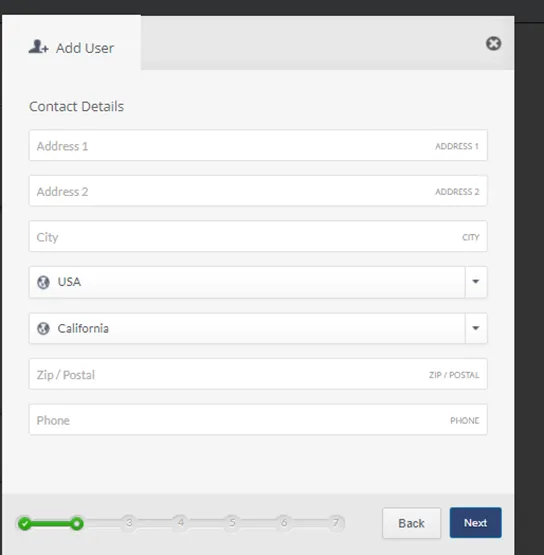
7. Leave the contact details on default and click Next.
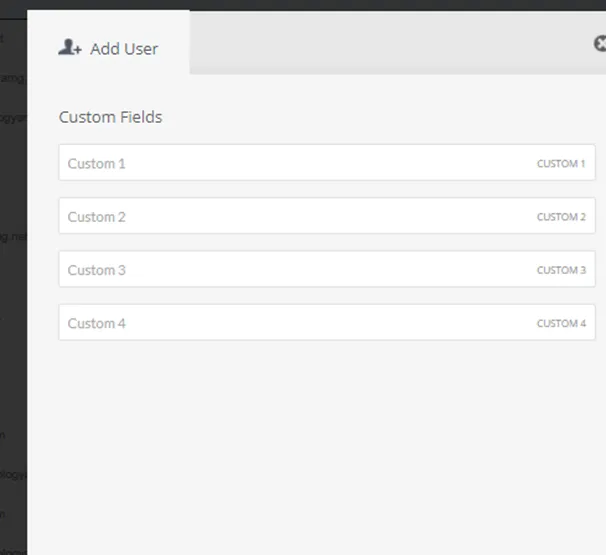
8. Leave on default and click Next.
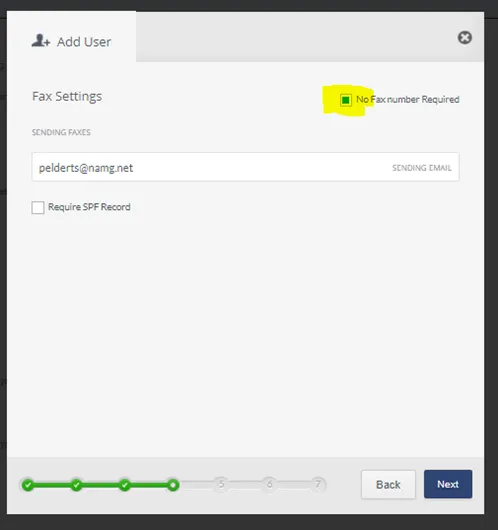
9. Check the box for “No Fax number Required” and click Next.
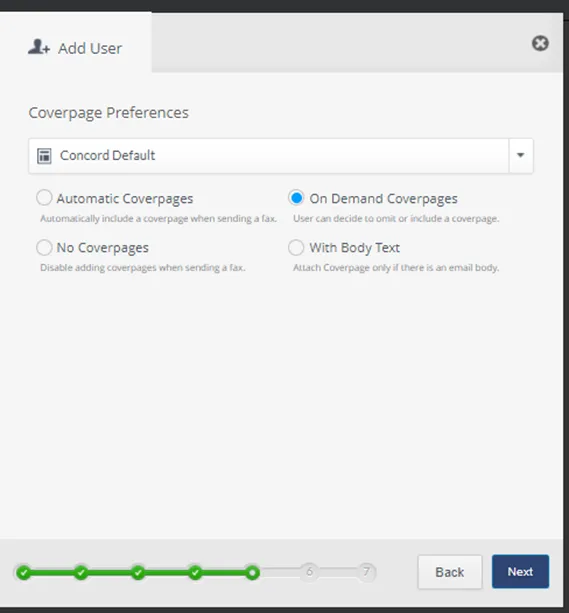
10. Leave on default and click Next.
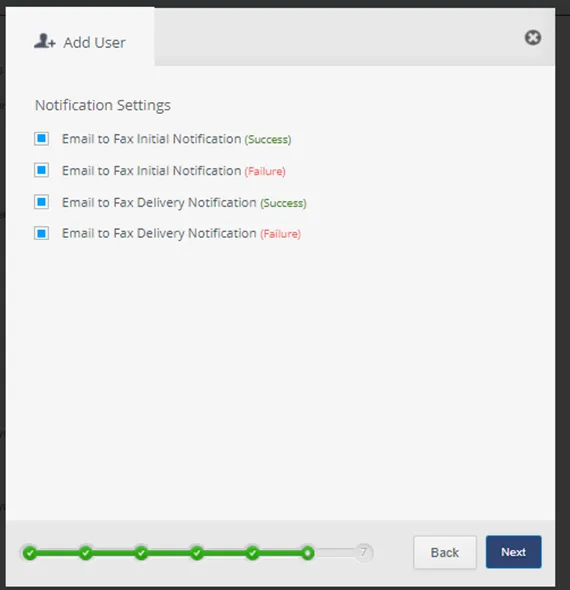
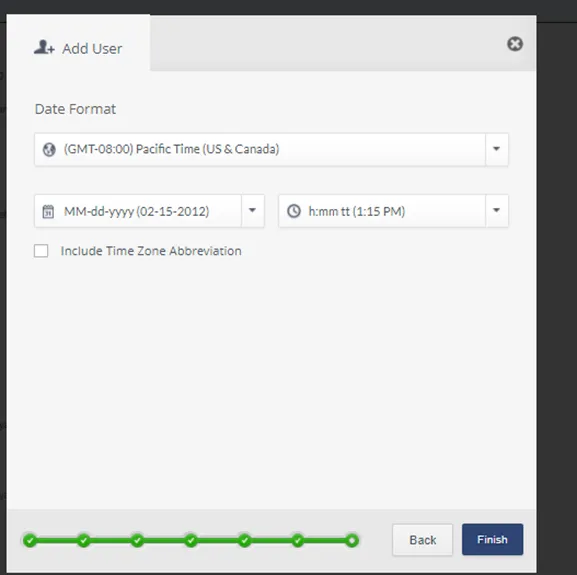
11. Leave on default and click Next.
12. Leave on default and click Finish.
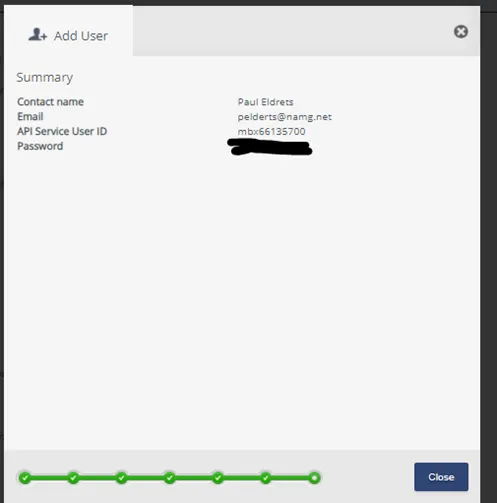
13. You will receive confirmation that the user has been created. Click Close and log out of Concord.
USER INSTRUCTIONS
The user will have to do the following in order to use eFax:
1. Compose a new email.
2. Put 1+FaxNumber@centrexfax.com in the Sending field (the To: field).
3. Put a subject and a quick line in the body of the email.
4. Add the file you want to fax as an attachment (it doesn’t matter if they are PDF, Word, or Excel files).
5. Click Send to send the fax.
REFERENCES