NALU - Importing an AD User into CloudSync and Install
Section titled “NALU - Importing an AD User into CloudSync and Install”Account Creation: Step 1 – 9
Permissions: Step 10 – 15
Local Computer Install / Log-in: Step 16 - 23
- Go to https://cloudsyncit.com/auth/login/ in a new internet browser. Then log in with your personal work credentials.
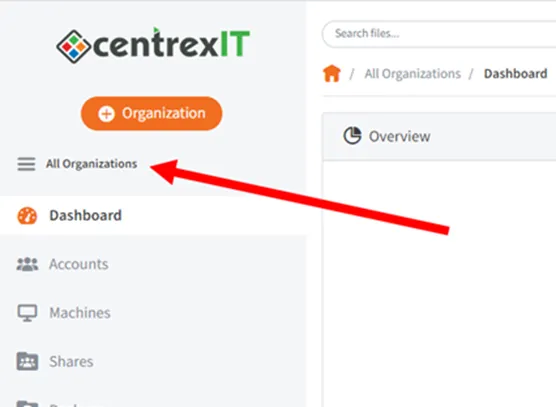
- Select “All Organizations” on the left-hand side of the page.
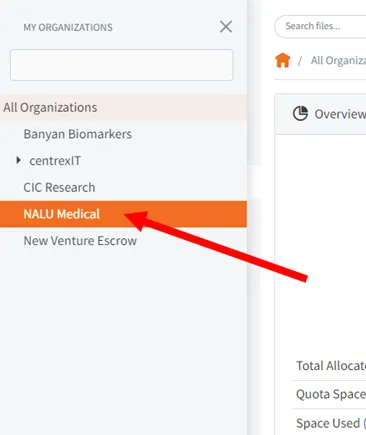
- Select the NALU Medical dropdown.
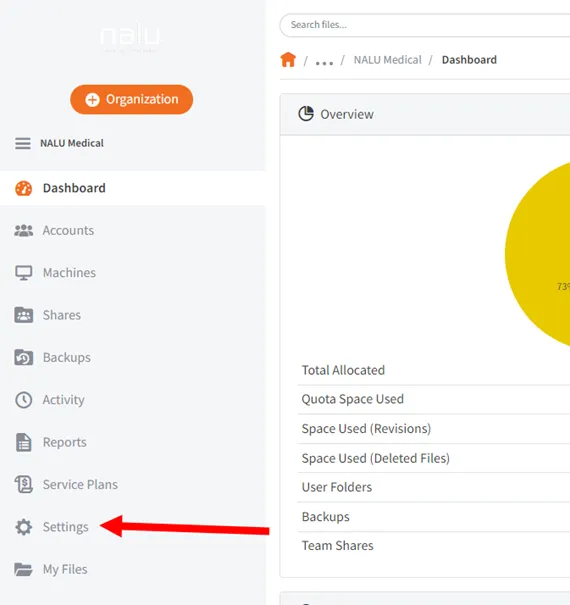
- Go to the Settings Tab from the NALU Medical dashboard.
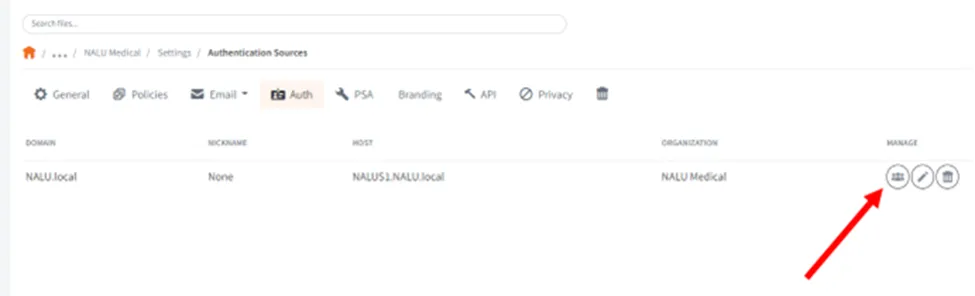
- Select Auth**.**

- Under NALU.local select “Import Users”****.
- Scroll down and expand the AD fields to locate the OU of the user you are creating a CloudSync account for.
- Most will follow the Active Directory > PEOPLE > EMPLOYEES (Or CONSULTANTS)
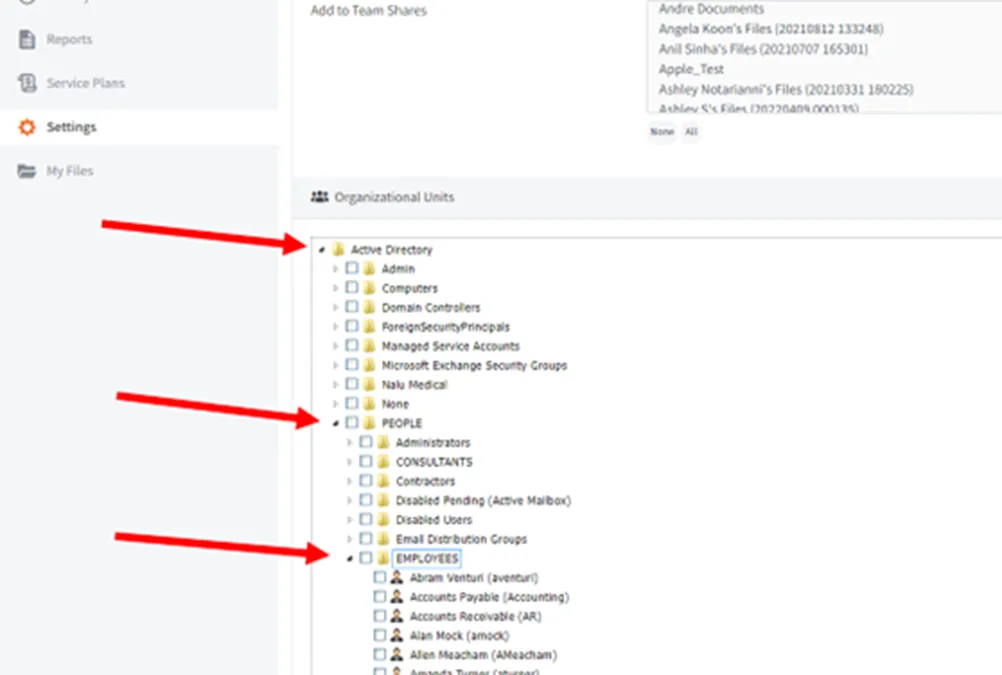
- Locate the requested User and check by their name. Then select Import Selected Users.
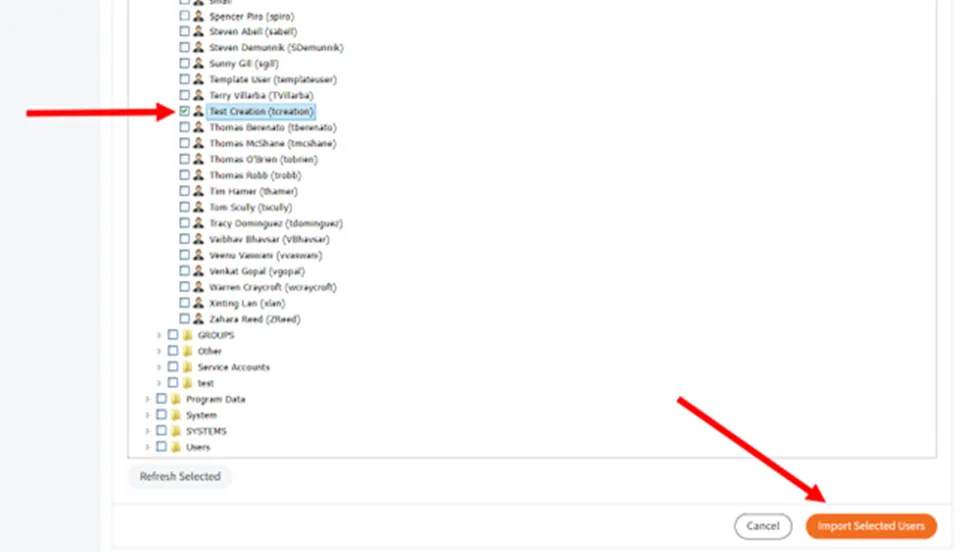
- Allow the Import Results page to finish processing. Once it states successful, hit Ok.

- Note: If the user only needs a CloudSync account created, you can skip to step 16, If the user needs additional permissions, continue steps.
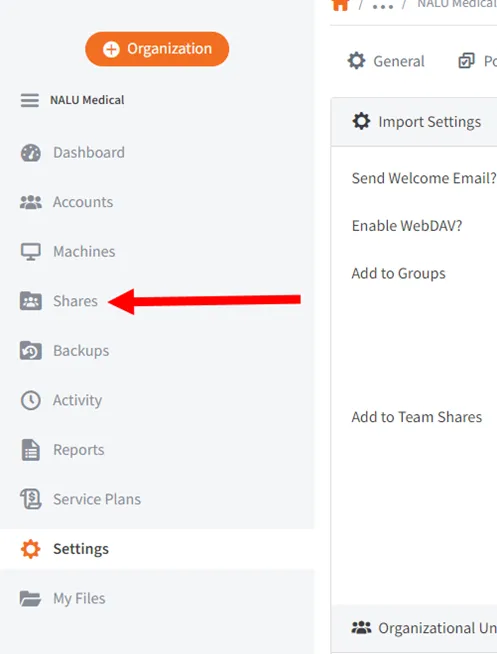
- If the requested User needs access to additional CloudSync groups/files, scroll up and select Shares on the left-hand side.
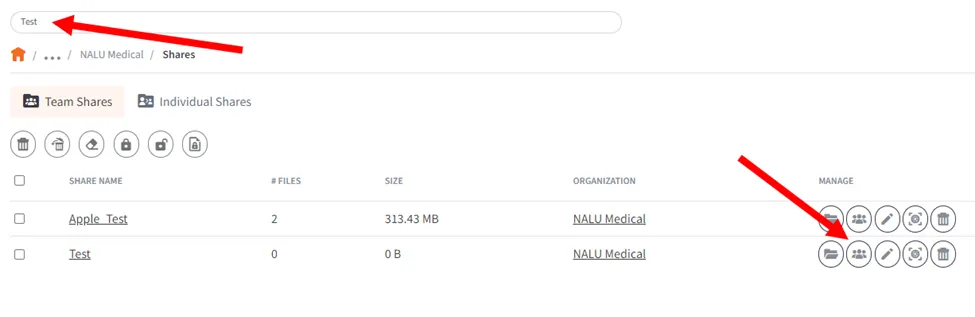
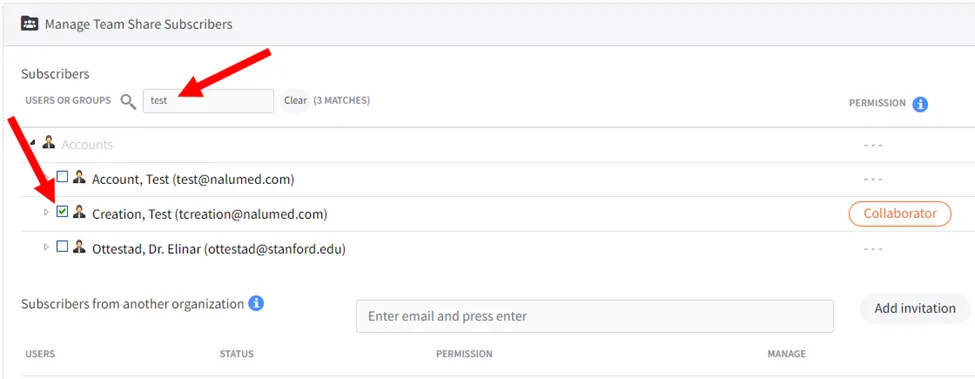
- Search for the requested Share group (could be Team Shares or Individual Shares). Then select Manage Team Shares Subscribers**.**
- From here, you will need to search for the requested User again, then check the box by their name.
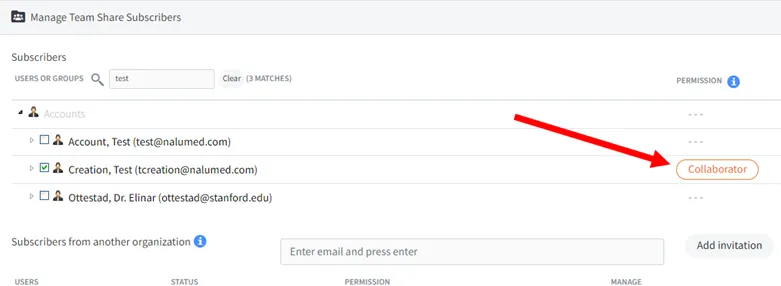
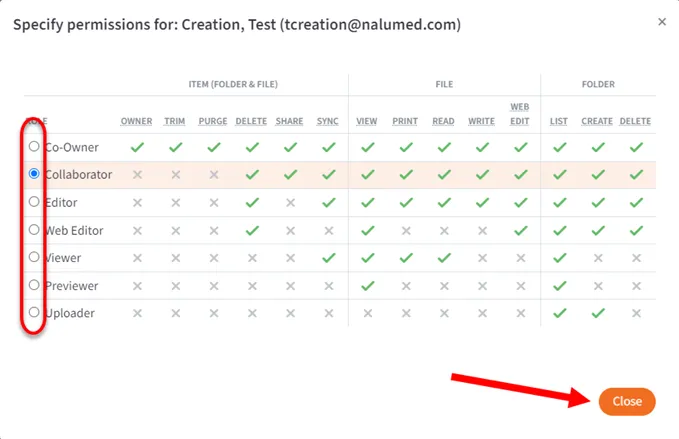
- Most users will only require the ”Collaborator” permission group, but if requested differently, click on Collaborator, adjust to requested permission, then hit close.
- Once closed, hit Save, then Ok on the Confirmation Page.
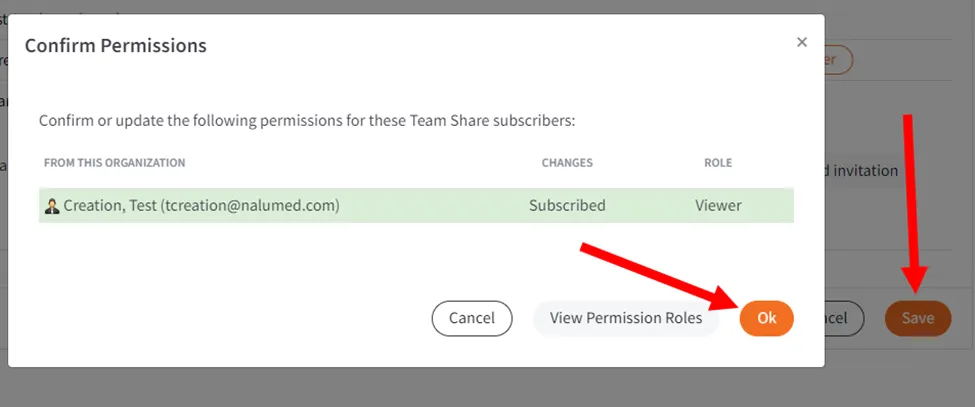
- The requested user now has permission to the requested group.
- Most users will need to sign in with their Active Directory Credentials in a web browser on their work computer. https://cloudsyncit.com/auth/login/
- (This applies if CloudSync is not already installed, if it is, simply have them log on with their current credentials, and follow the default set-up)
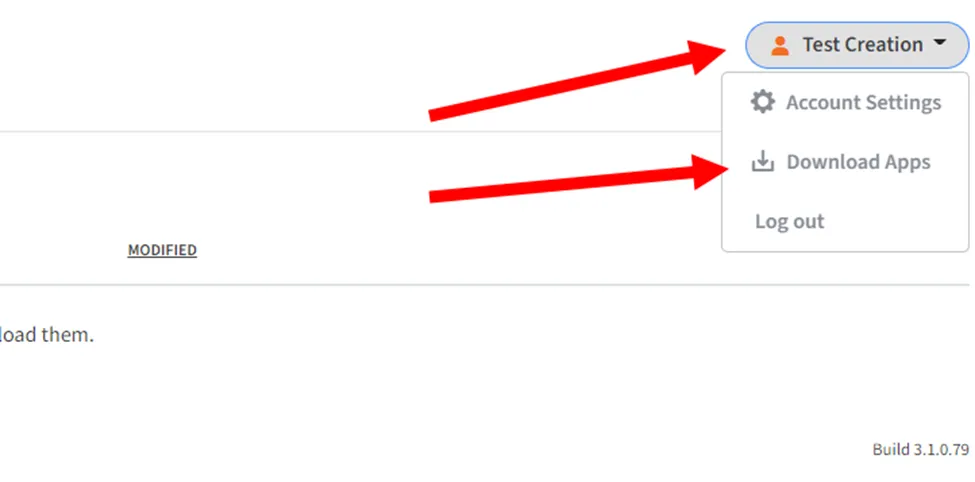
- Select their name at the top right of the page, then select Download Apps**.**
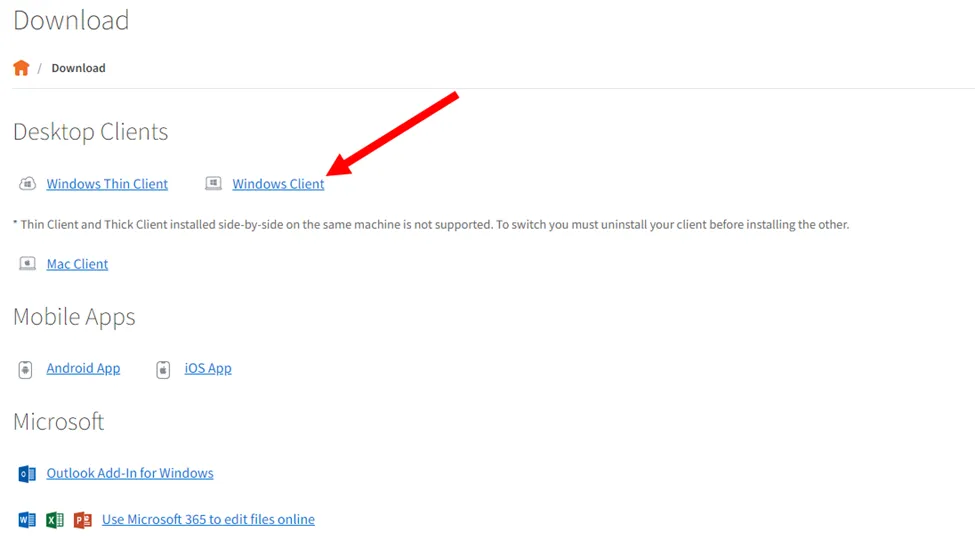
- Select the Windows Client installer.
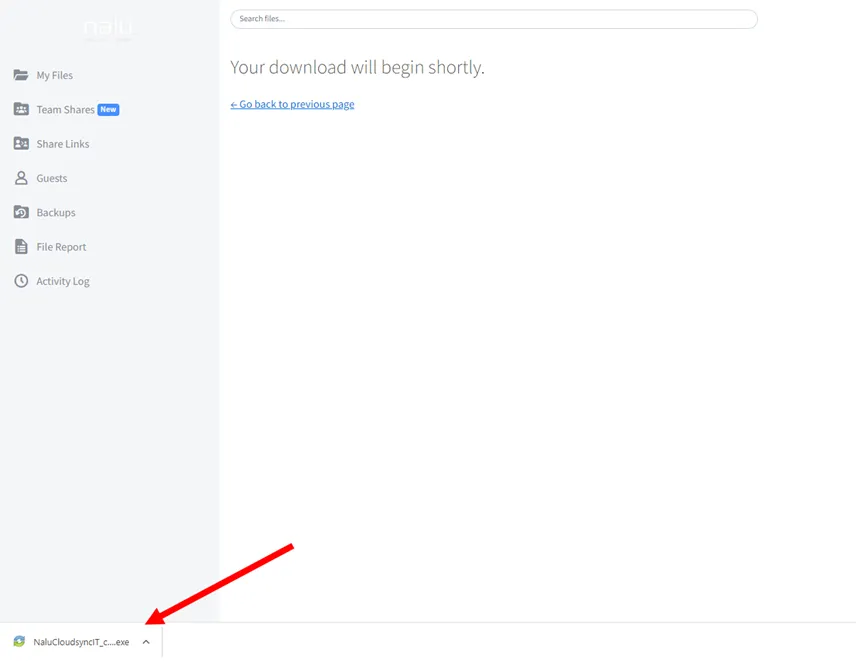
- Select the executable at the bottom left of the page.
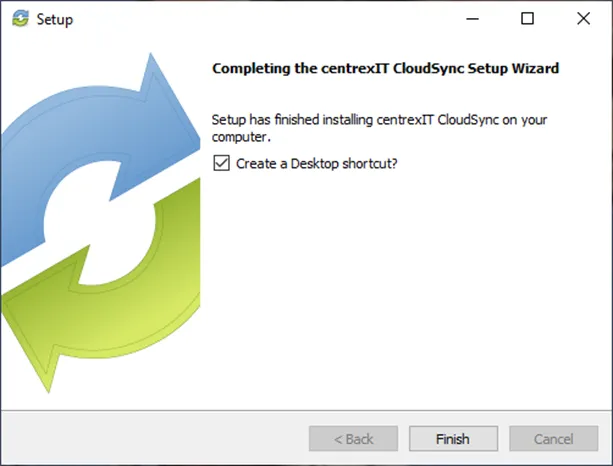
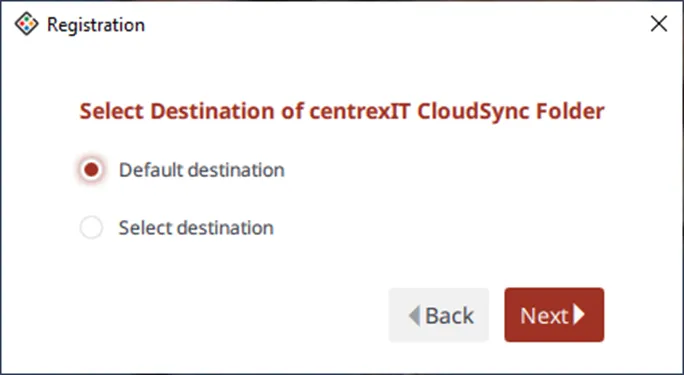
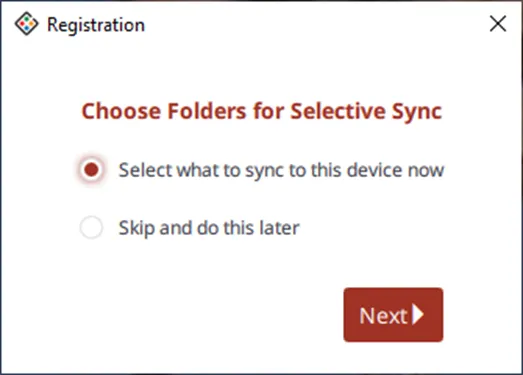
- Follow the next string of screenshots for the CloudSync Installer. You will be using the default options.
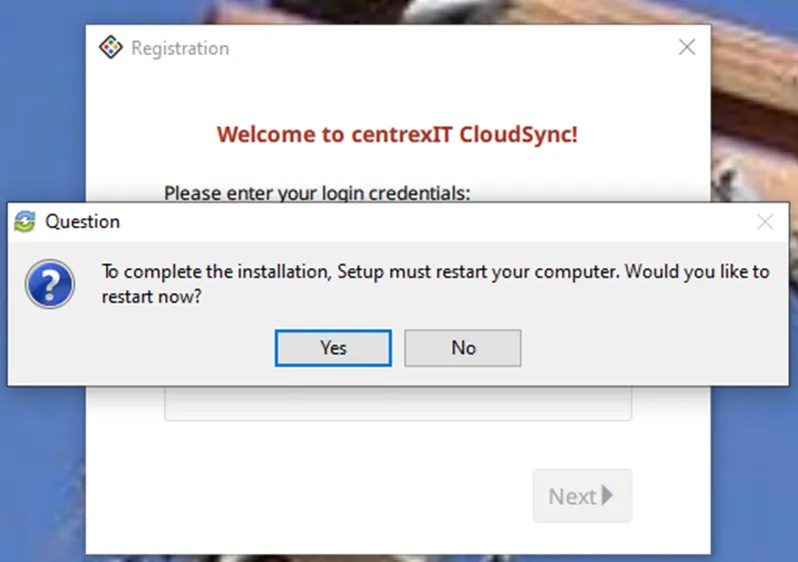
- If User has a moment, go ahead and restart computer, you can still finish the set-up without the restart. Re-open CloudSync if you restarted the device.
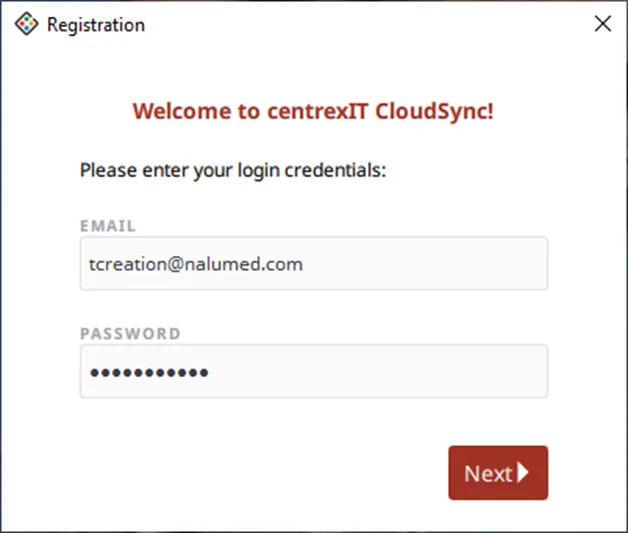
- Log into CloudSync with User’s credentials. Follow Screenshot walkthrough.

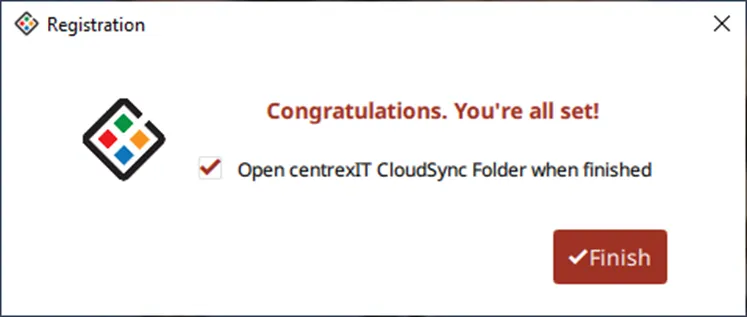
- Once you select finish, there should now be a CloudSync Folder available on the desktop. You have now completed the creation and installation of CloudSync!
Note: If the user has files already in CloudSync, it may take some time to Sync, depending on the size, it could take a few hours.